


Oh the Possibilities!
There are several methods used to transfer graphics or images onto furniture, but today I want to cover just three of the ones that I have used and found most useful.
- Transfer Gel
- Carbon Paper
- Freezer Paper
Transfer Graphics with Transfer Gel
I have written an in-depth post on this method before, which I have just updated to include my latest video on transferring graphics using Fusion Mineral Paint’s Transfer Gel, which is very similar to Mod Podge. You can read the full tutorial HERE.
Here is the latest video to go with my series on transferring graphics, using Fusion’s Transfer Gel:
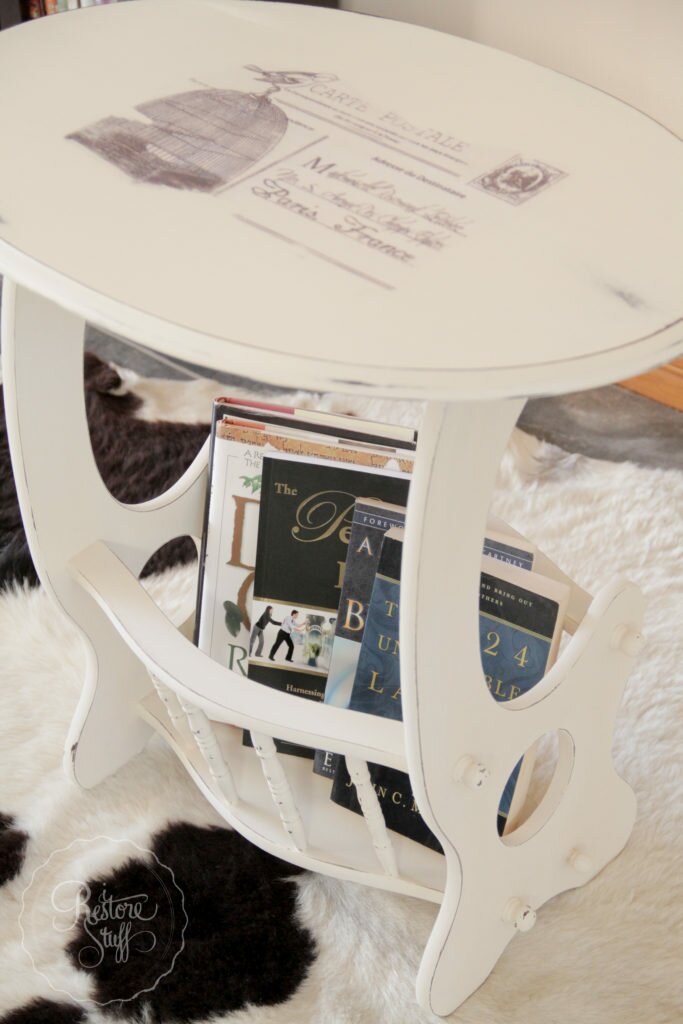
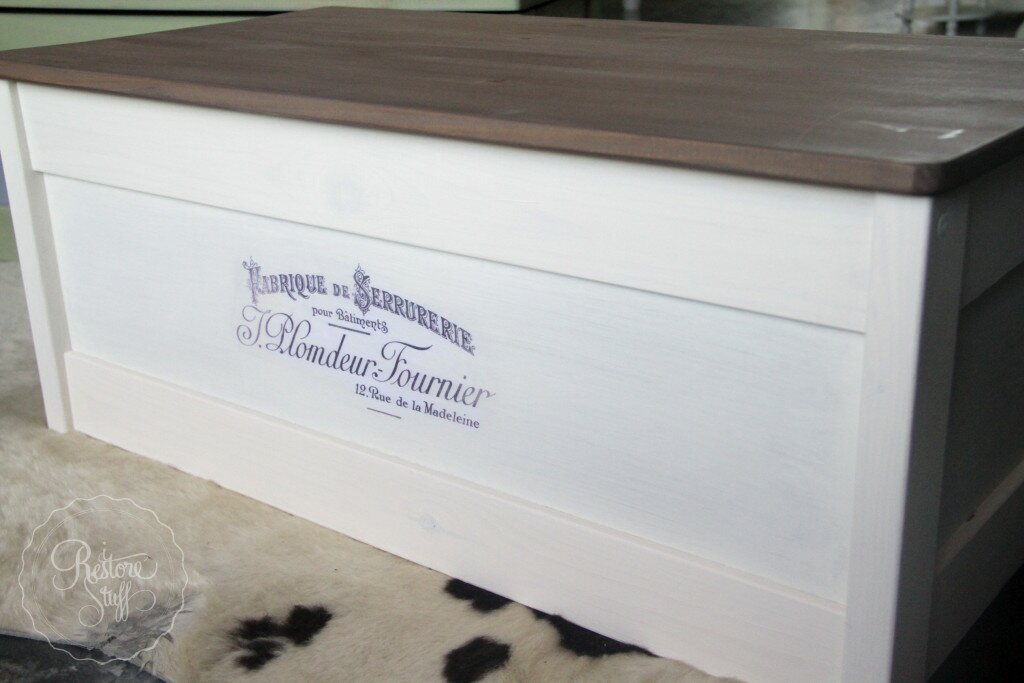
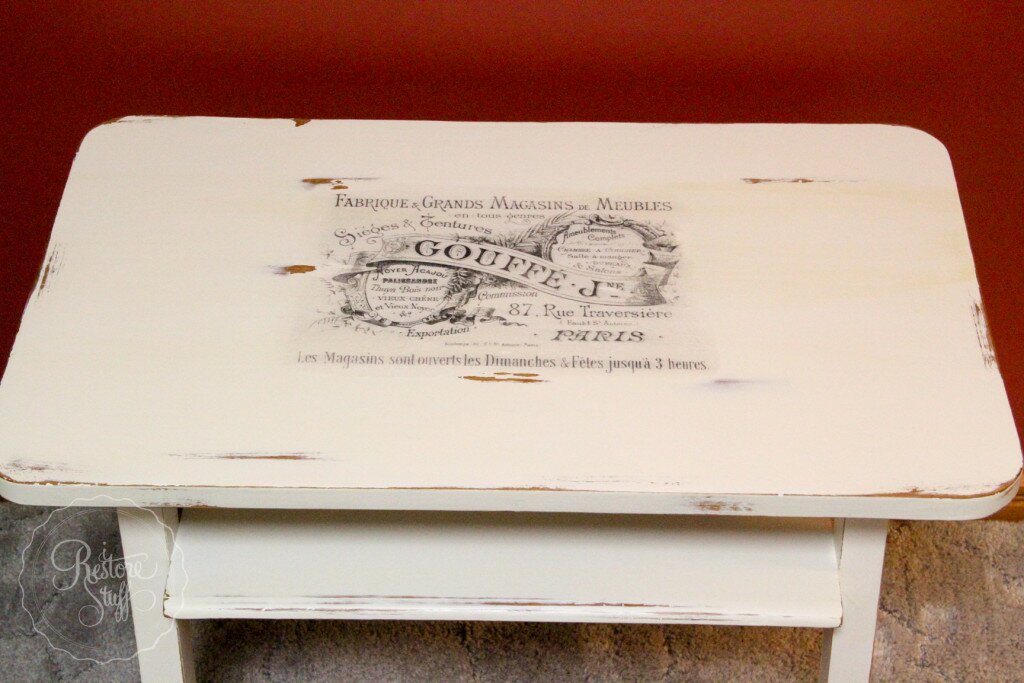
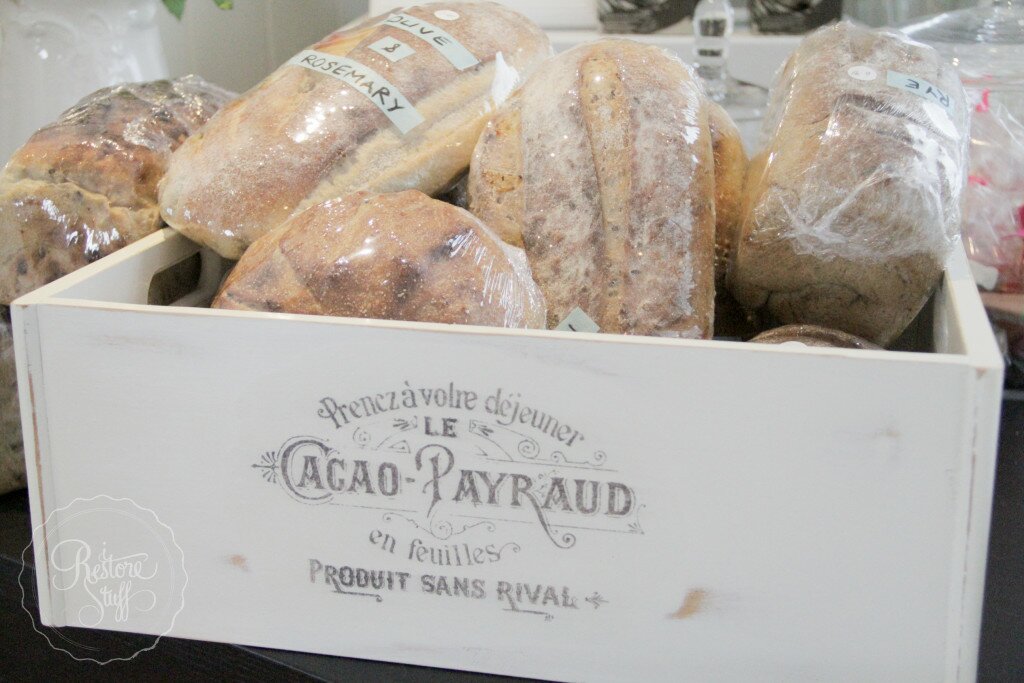
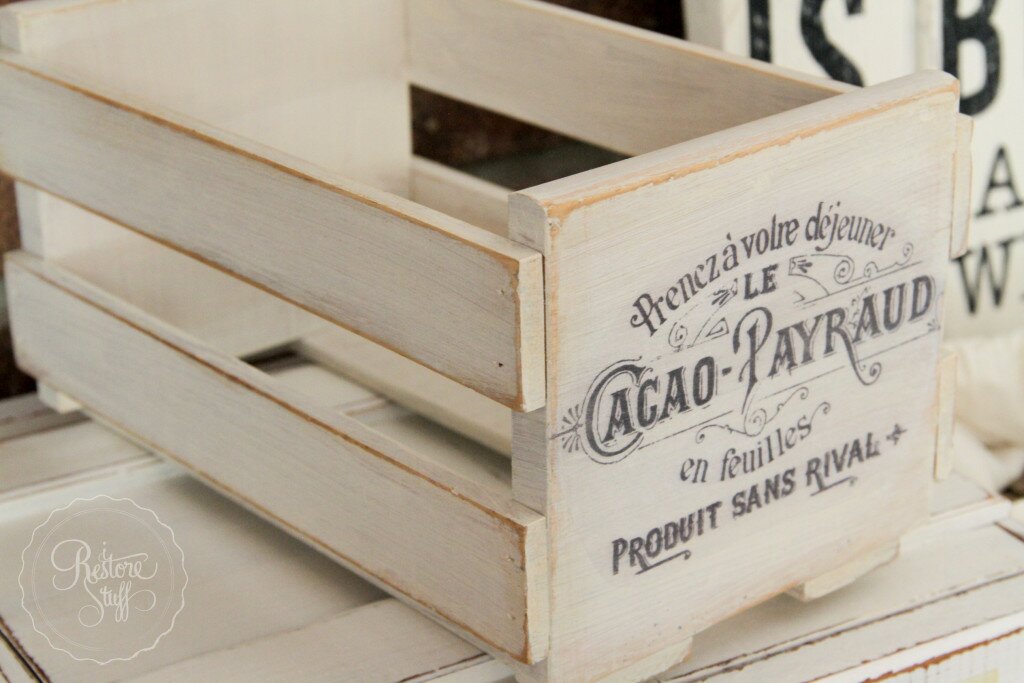
Using the Transfer Gel method can really make your ordinary furniture pieces become real statements in your home and great conversation starters. Here are a few I’ve done over the years: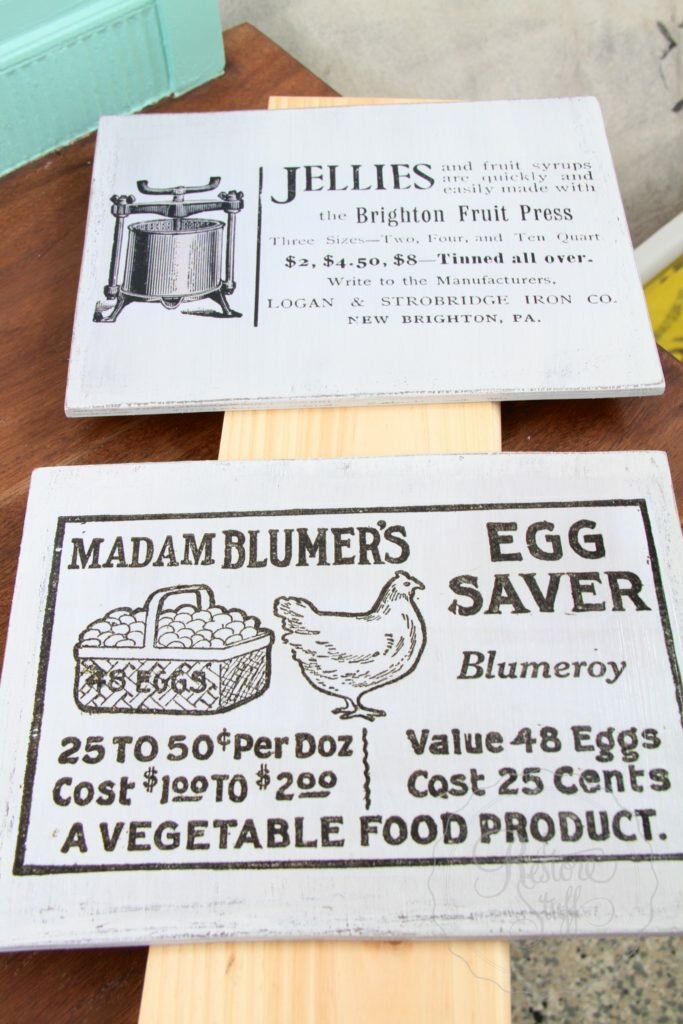


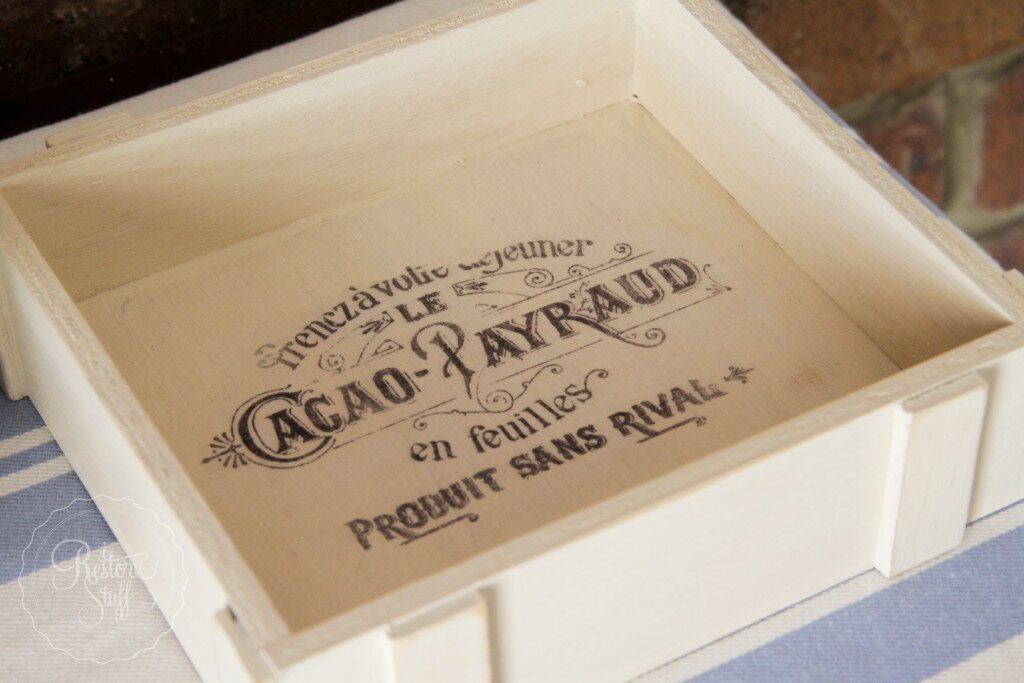
Transfer Graphics using Carbon Paper
This method is very straight forward, and if you don’t have carbon paper, you can substitute by rubbing a lead pencil over the back of your image, then when you trace over it, the pencil will transfer to your furniture.
- Print image right way up (NOT in reverse for this one).
- Take a piece of carbon paper (available in most office supply stores) and place between your image and your piece of furniture, with the darker blue carbon side down.
- Tape your image down with painters tape, so that the image is not moved during the tracing process.
- Begin tracing your image carefully using a pen or pencil, and pressing hard enough to allow the carbon to imprint the surface that you are transferring the image to.
- Lift your image and carbon paper away, and then you are ready to outline your image in a permanent paint pen or marker, and fill in the details using either a fine paint brush or permanent marker (eg. Sharpie)
You can watch a video tutorial of this method here:
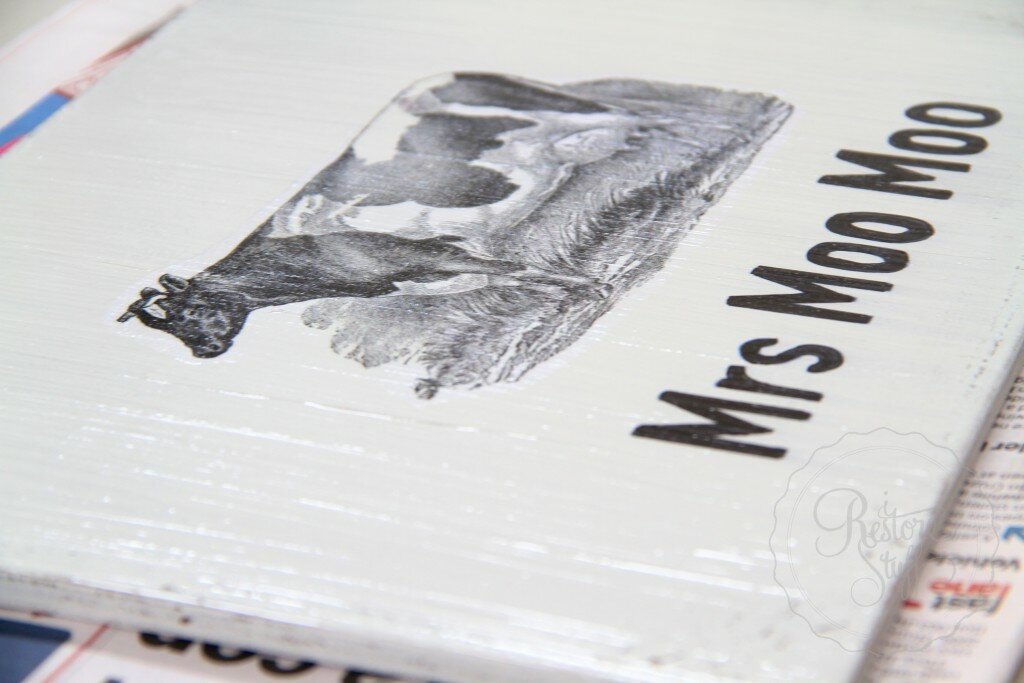
Here are some examples I have done using the carbon paper method:

Click on this picture to see the full blog post on this makeover.

Click on this picture for the full blog post.
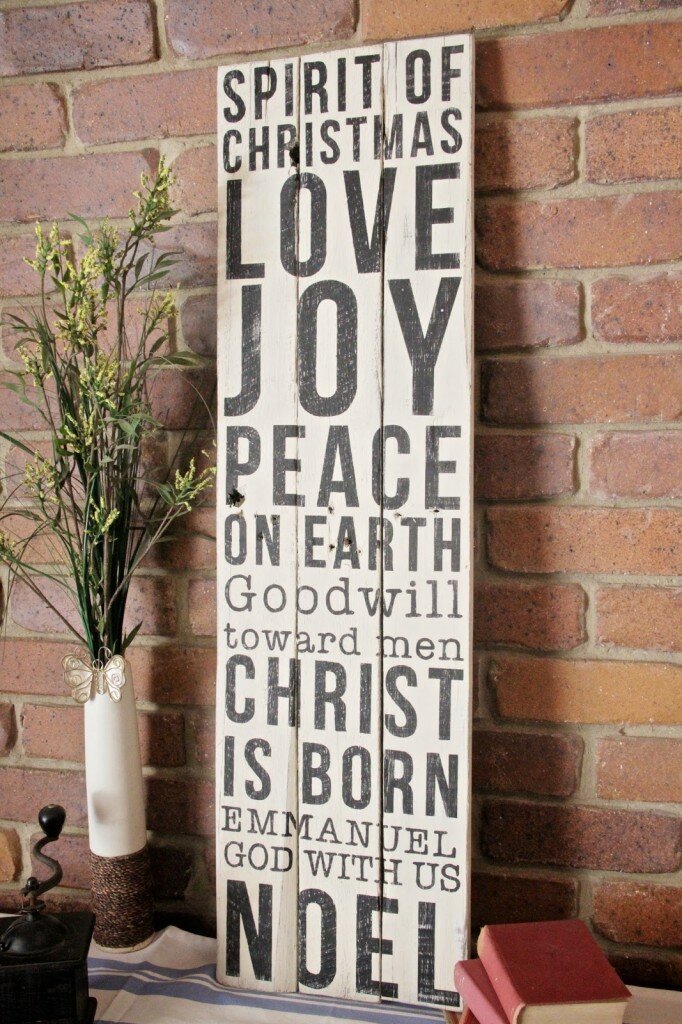
Click on the picture to see how I made this sign.
Transfer Graphics using Freezer Paper
Here’s a tutorial video showing you how to transfer graphics using freezer paper, which is a paper that is glossy on one side and available in some craft stores and office supply places.
Here is a re-cap of the steps:
- Print your image in REVERSE (check your printer settings for how to do this, you may have to search online for how to do this with your particular printer if you are not sure how) on an ordinary inkjet printer.
- You will be printing it on the glossy side of the freezer paper. If you cannot find freezer paper, you can also use the sheets of labels you can buy. Once all the labels have been removed, you are left with a glossy surface to print your image onto.
- Being careful not to touch your image as the ink will be wet, turn it over onto the surface you wish to place the image on, and rub firmly with a burnisher or the back of a spoon. Be careful not to move the image. Lift the corner gently to see if the ink is transferring. Continue until all ink has transferred to the surface.
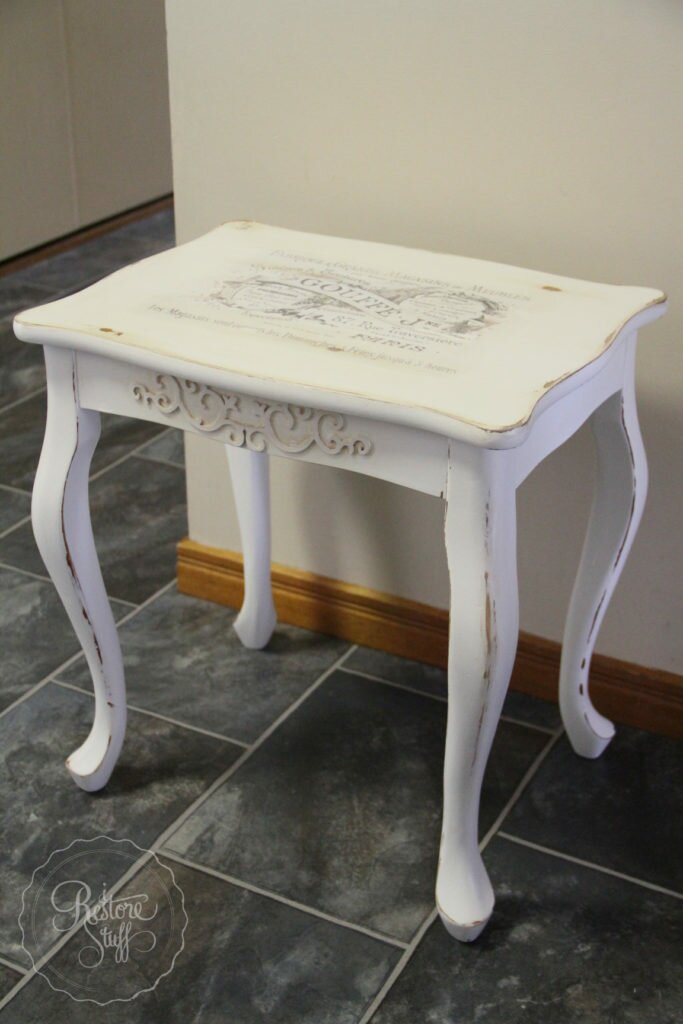
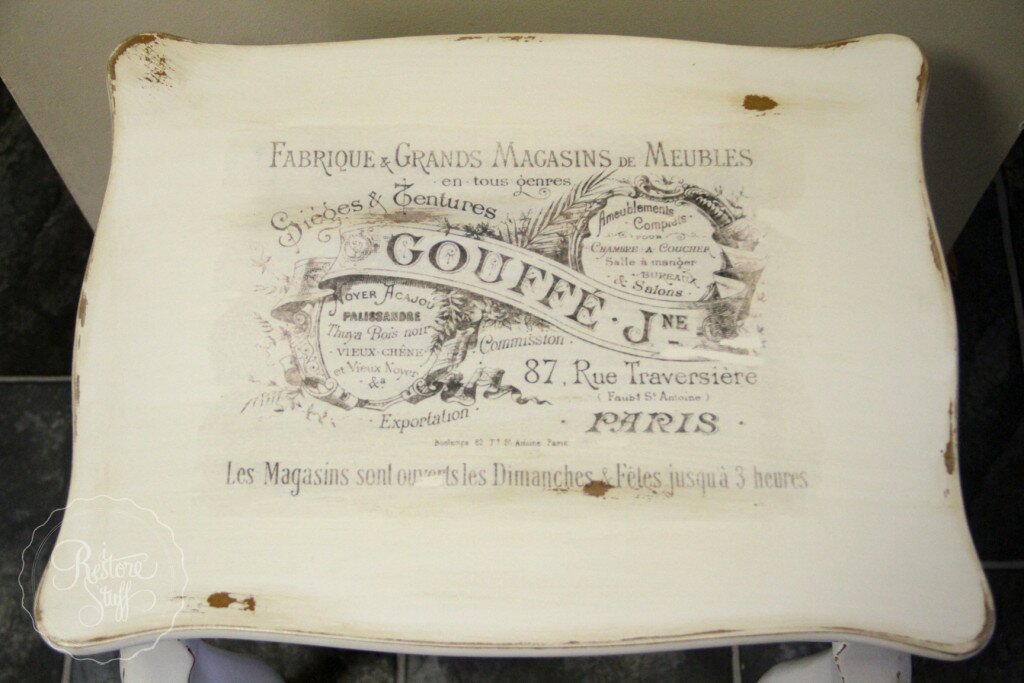
Here is an example of a stool I transferred a crown image onto using this method. Click the picture to see the full blog post:

Click image to see the blog post of this stool makeover.
I hope you enjoyed these tips for transferring graphics. I’m sure there are other ways out there, so let me know in the comments if you have a preferred method of doing this, or if you’ve ever tried it before?
Also, let me know in the comment section, if you have any questions about any of these methods of transferring graphics and I’ll reply if I can answer them.
Have a lovely Easter everyone!
Sharon.
We are authorised retailers for Fusion Mineral Paint and Miss Mustard Seed's Milk Paint in Australia. This blog post may contain affiliate links.


8 Comments
Bliss
March 26, 2016 at 12:17 pmSome good stuff here in this post, so I pinned.
IRestoreStuff
March 26, 2016 at 3:10 pmThanks so much Bliss Ranch!
Laurie Hansen
October 13, 2016 at 7:14 pmWhat kind of printed copy do you use, laser or inkjet?
IRestoreStuff
October 14, 2016 at 2:42 pmHi Laurie,
For this Transfer Gel method I like to use Laser prints. I used to use inkjet, but have found it fades over time and can sometimes “run” a little with certain gel mediums.
Evie
October 25, 2016 at 4:42 amWhen using the freezer paper transfer method, do you varnish or seal the furniture afterwards and how do you keep the ink from bleeding while putting on a sealer?
IRestoreStuff
October 25, 2016 at 5:16 pmEvie, the ink needs to dry properly before attempting to seal it, so I’d leave it a day to be sure. I usually use Fusion’s Tough Coat Wipe on Poly, but brushed on, not wiped on (only for signs, I usually wipe on for finishing wood grain surfaces)
Adam Jones
March 1, 2017 at 2:43 amHi, great ideas, can it be done in colour? Many thanks.
IRestoreStuff
March 1, 2017 at 6:19 amYes, you can use colour pictures too. I prefer to use laser printed copies, to avoid any “bleeding” and fading in the long term.