TV Console Update
This is a follow up post from the Fusion Mineral Paint demo I did over on , Live DIY Demo and also my blog post titled: The Basics of Painting Furniture using Fusion Mineral Paint.
Before
Below is a pic of the original way this piece arrived at my house: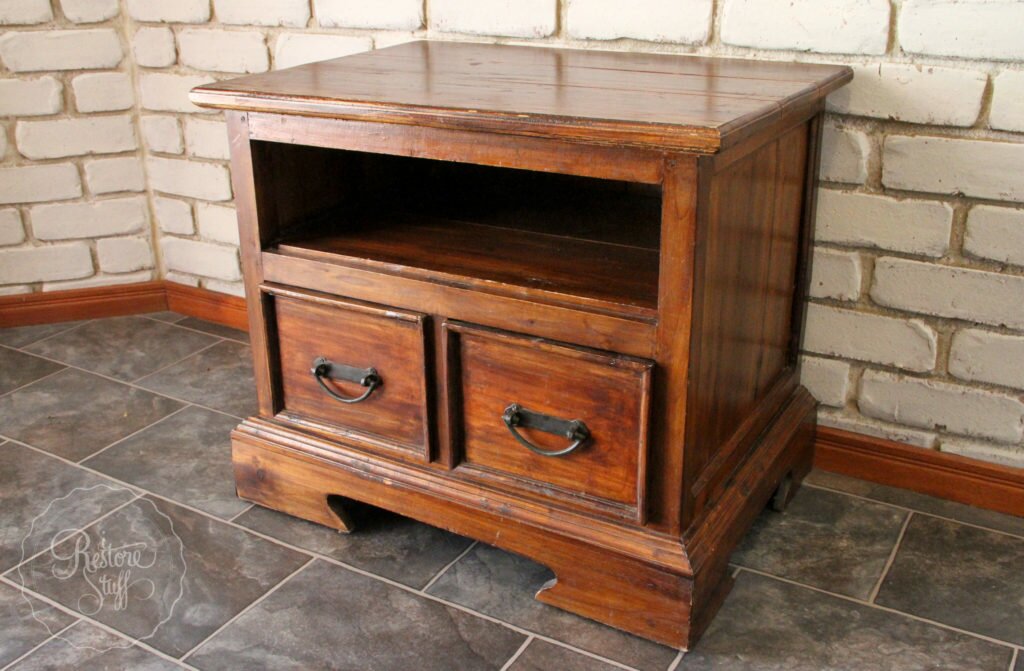
My DIY Live Demo
Here you can see the full live demo we did on Hometalk’s Facebook page.
(sorry about the sideways start – we corrected that pretty quickly!)
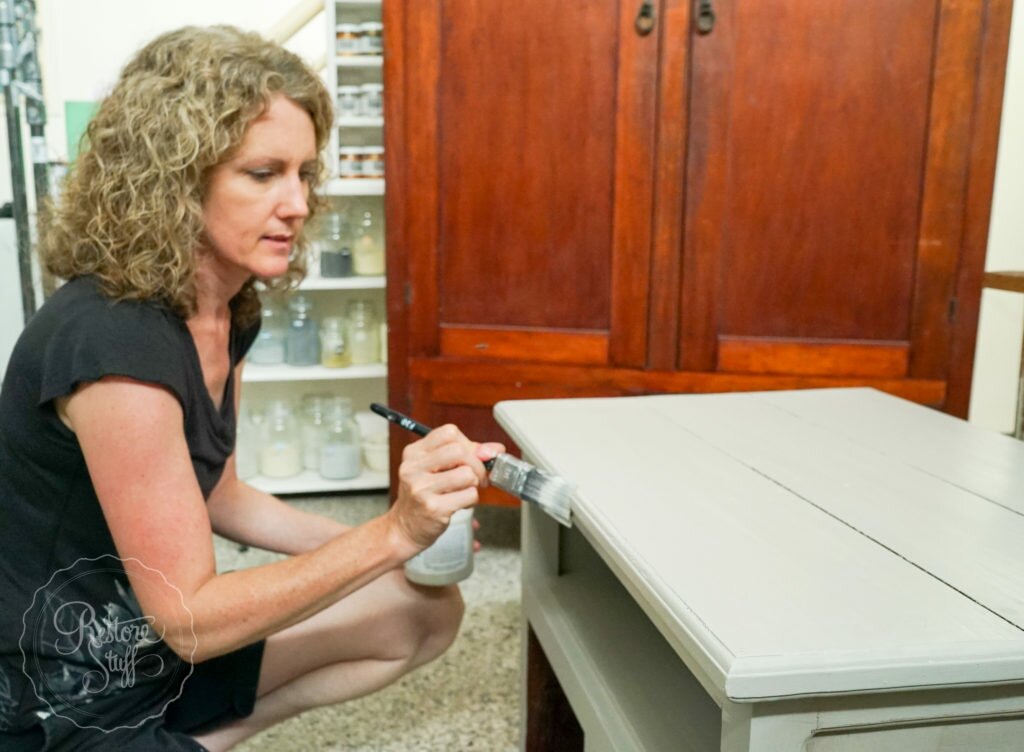
If you want to skip the video and see the steps I took to finish this piece, here are the basics below:
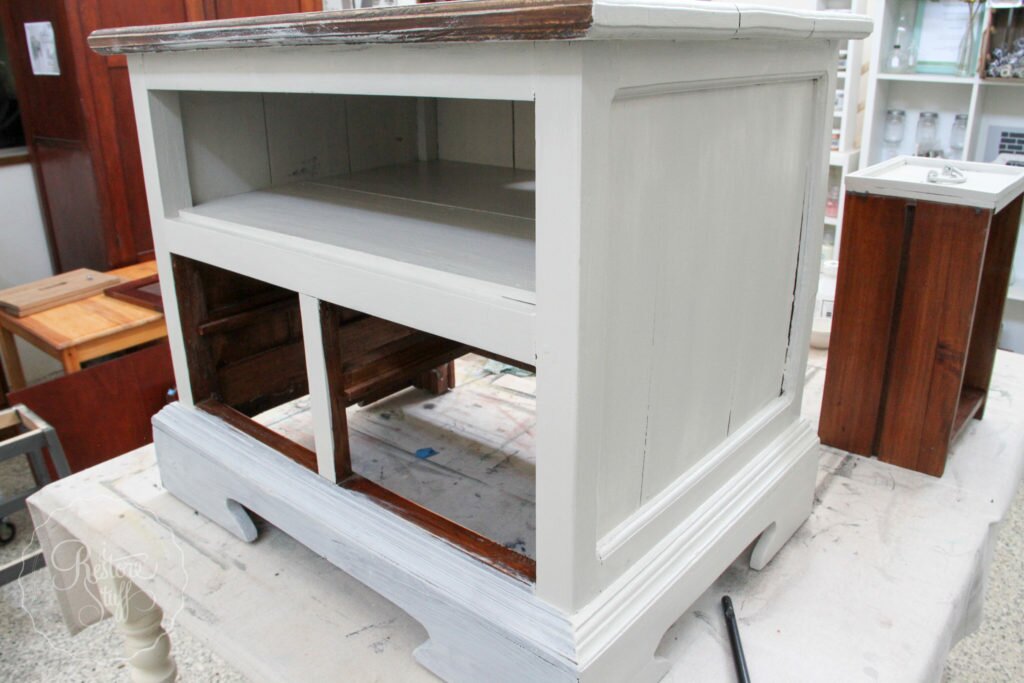
After a basic coat of Fusion Mineral Paint Concealer (remember taking a piece from a dark timber to a very light colour, you can save on your good paint, by using Concealer – refer to video for in depth explanation of this) I then did only one coat of my chosen colour – Putty (from the Michael Penney collection of Fusion Mineral Paint).
Putty has exceptional coverage, and because I was going for a rustic, distressed look with this piece, one coat was plenty and also covered really well.
The colour Putty, has exceptional coverage for such a light colour.
Distressing
Once the piece was covered in the Putty colour – which is the perfect greige, by the way – I distressed the edges of the cabinet and any high points where wearing would naturally occur over the years.
For distressing, I usually use a fine to medium grit sandpaper – approx 120. Gently rub along the grain of the wood on those areas you want to show wear.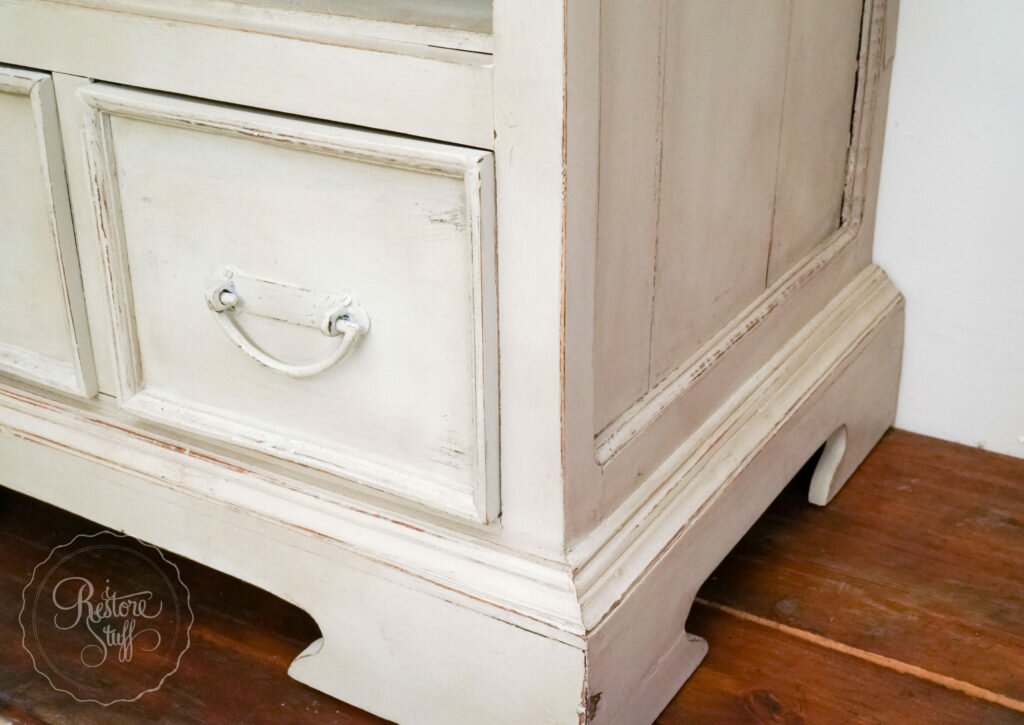
Waxing
As I mentioned on my Hometalk Live demo (see video above), it is NOT necessary to finish your Fusion painted pieces with wax or any other finishing product, as Fusion Mineral Paint has a built-in topcoat with a lovely matte finish.
However, if you wish to add a bit of sheen, go ahead and use a clear furniture wax or beeswax.
And if you wish to highlight areas of your piece or give it an aged look, you can do this with your dark waxes. For this piece I used Fusion’s Espresso Wax – a gorgeous coffee brown colour – to give the perfect aged patina!
Waxing is as easy as getting a small amount on your wax brush or a lint free cloth, then rubbing it in to the creases and areas you want to appear aged. Using a clean cloth, wipe away any excess wax, blend and buff the area.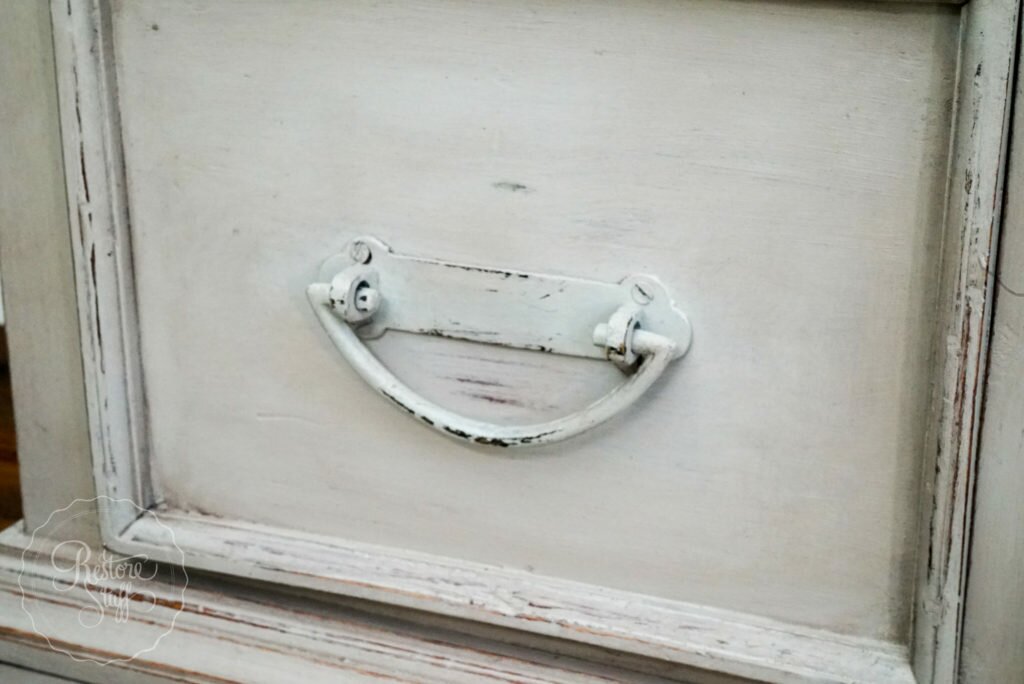 See the aged look the Espresso Wax created below in the crevices and on the sides.
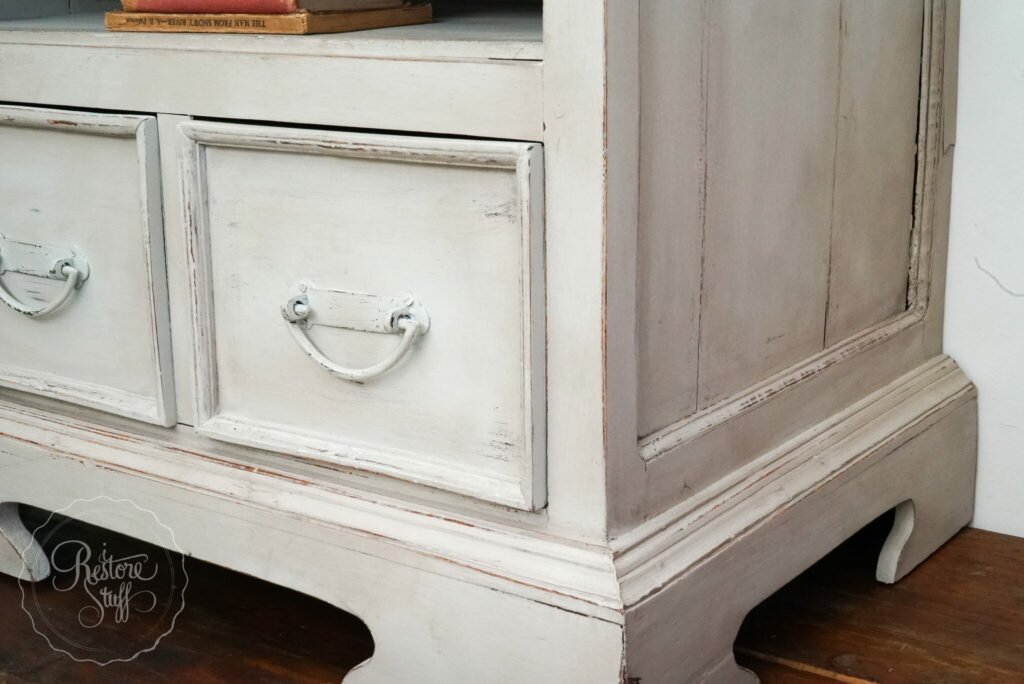
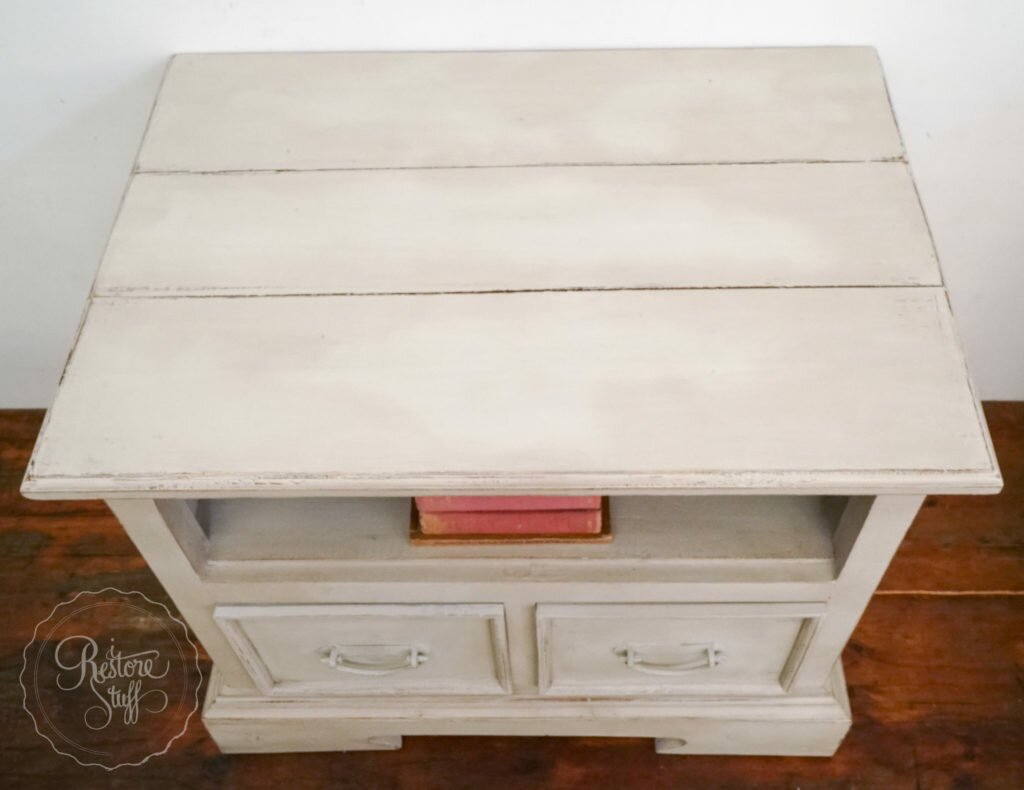
 All finished and ready to sell!
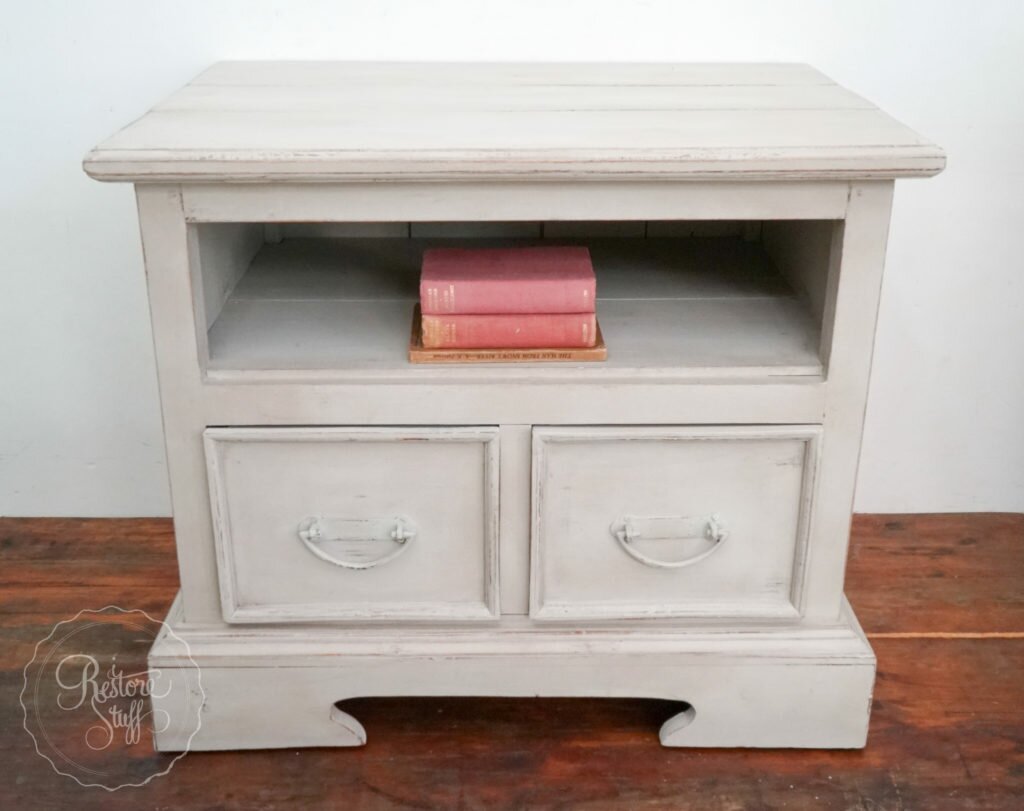

If you have any questions on any of the steps I mentioned, please leave them in the comments. I’d be only too happy to answer them. You can also join me for more updates and support on our .
We are authorised retailers for Fusion Mineral Paint and Miss Mustard Seed's Milk Paint in Australia. This blog post may contain affiliate links.
No Comments