Finally finished recovering this chair for a friend this week.
I was sure I’d taken a “Before” picture, but apparently not …
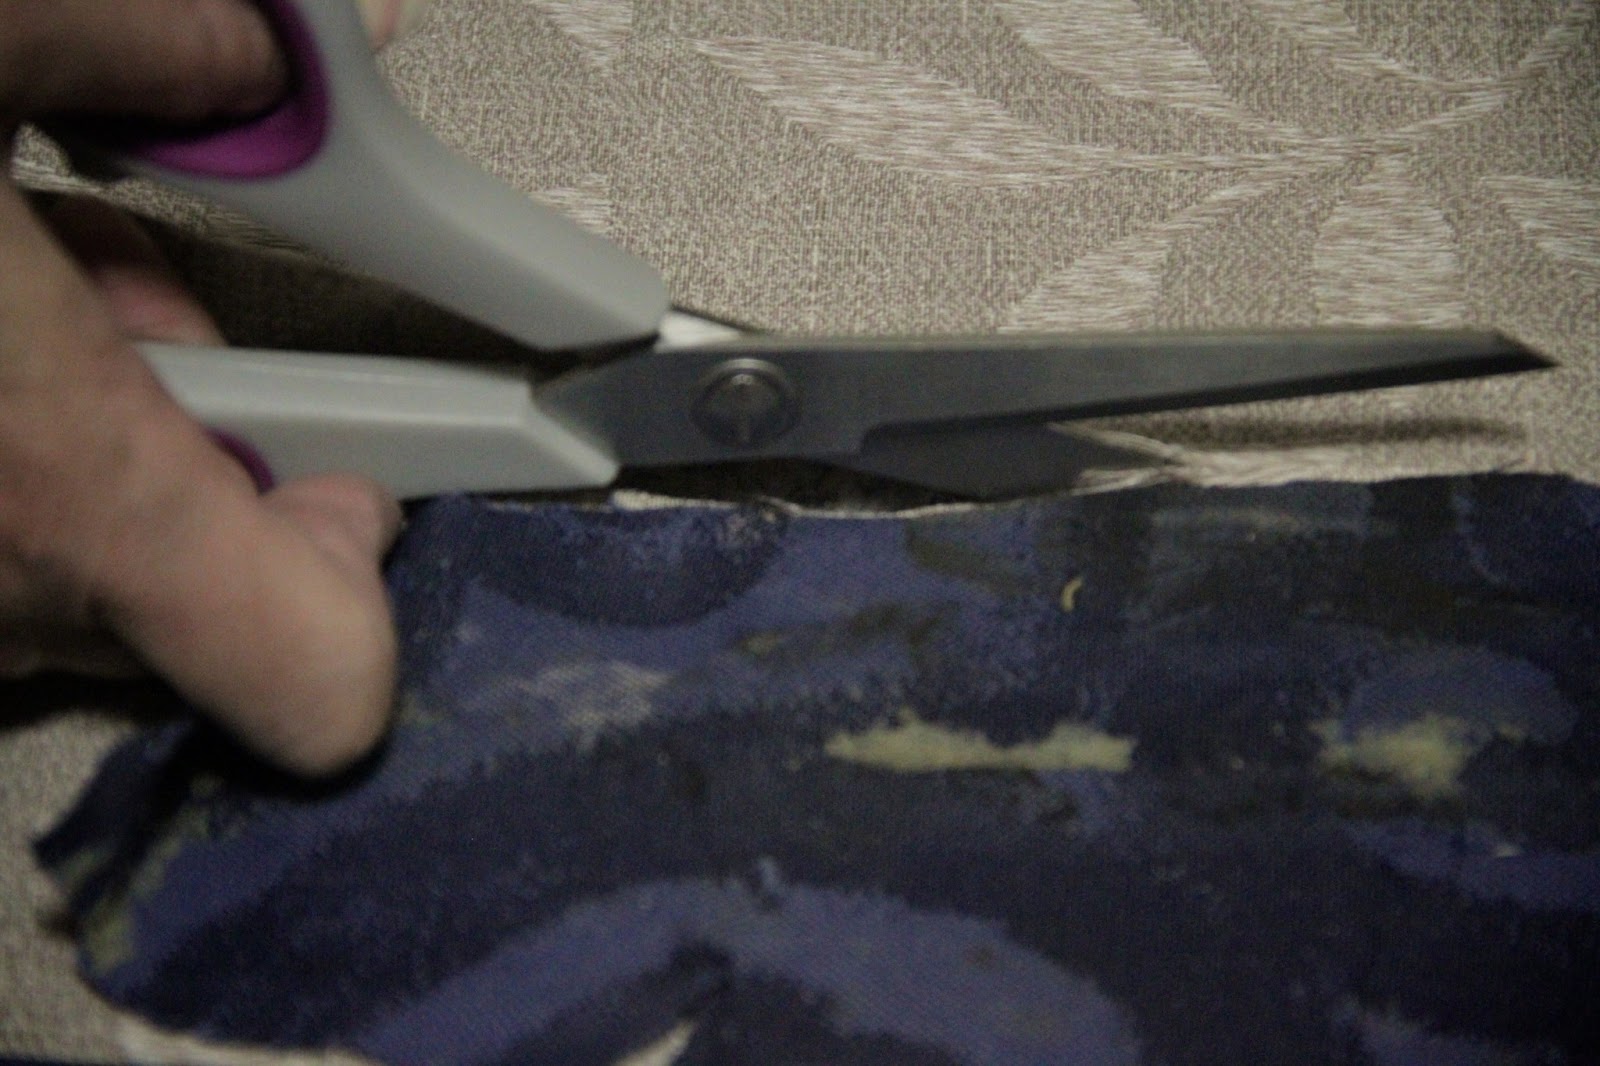
So imagine this shell … with this well worn fabric …
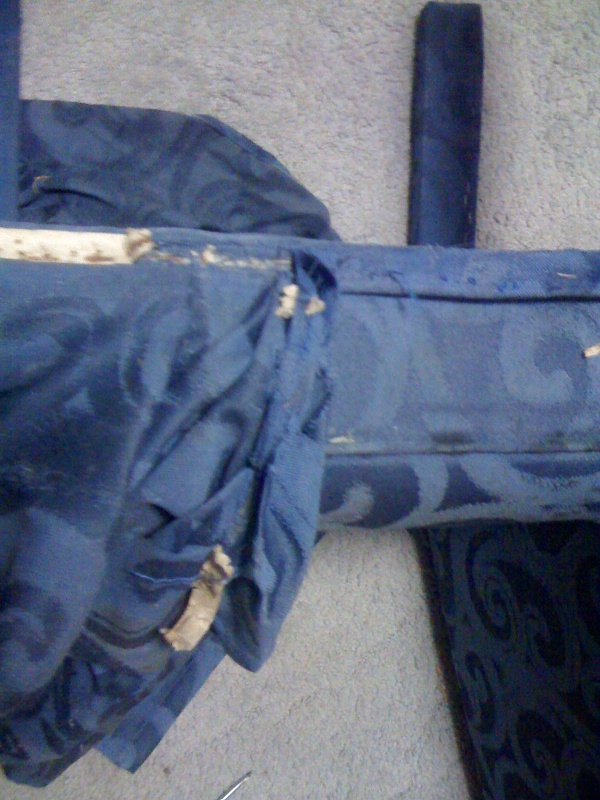
This was the first time I’d recovered any kind of fully upholstered furniture. I had done the odd dining chair with cushioned seat or a footstool, but nothing like this …
… with a ZILLION staples!!
Honestly, do upholsterers EVER think of the next person who might want to re-cover their masterpiece held together with scrap metal! Took me and my little screwdriver about 3 x 2 hour sessions on separate occasions to remove them all.
In fact, when I was just down to the seat and back, I almost decided to just make a slip cover for it and be done with it. But my loving husband, ever the perfectionist, encouraged me to persevere and I’m so glad he did.

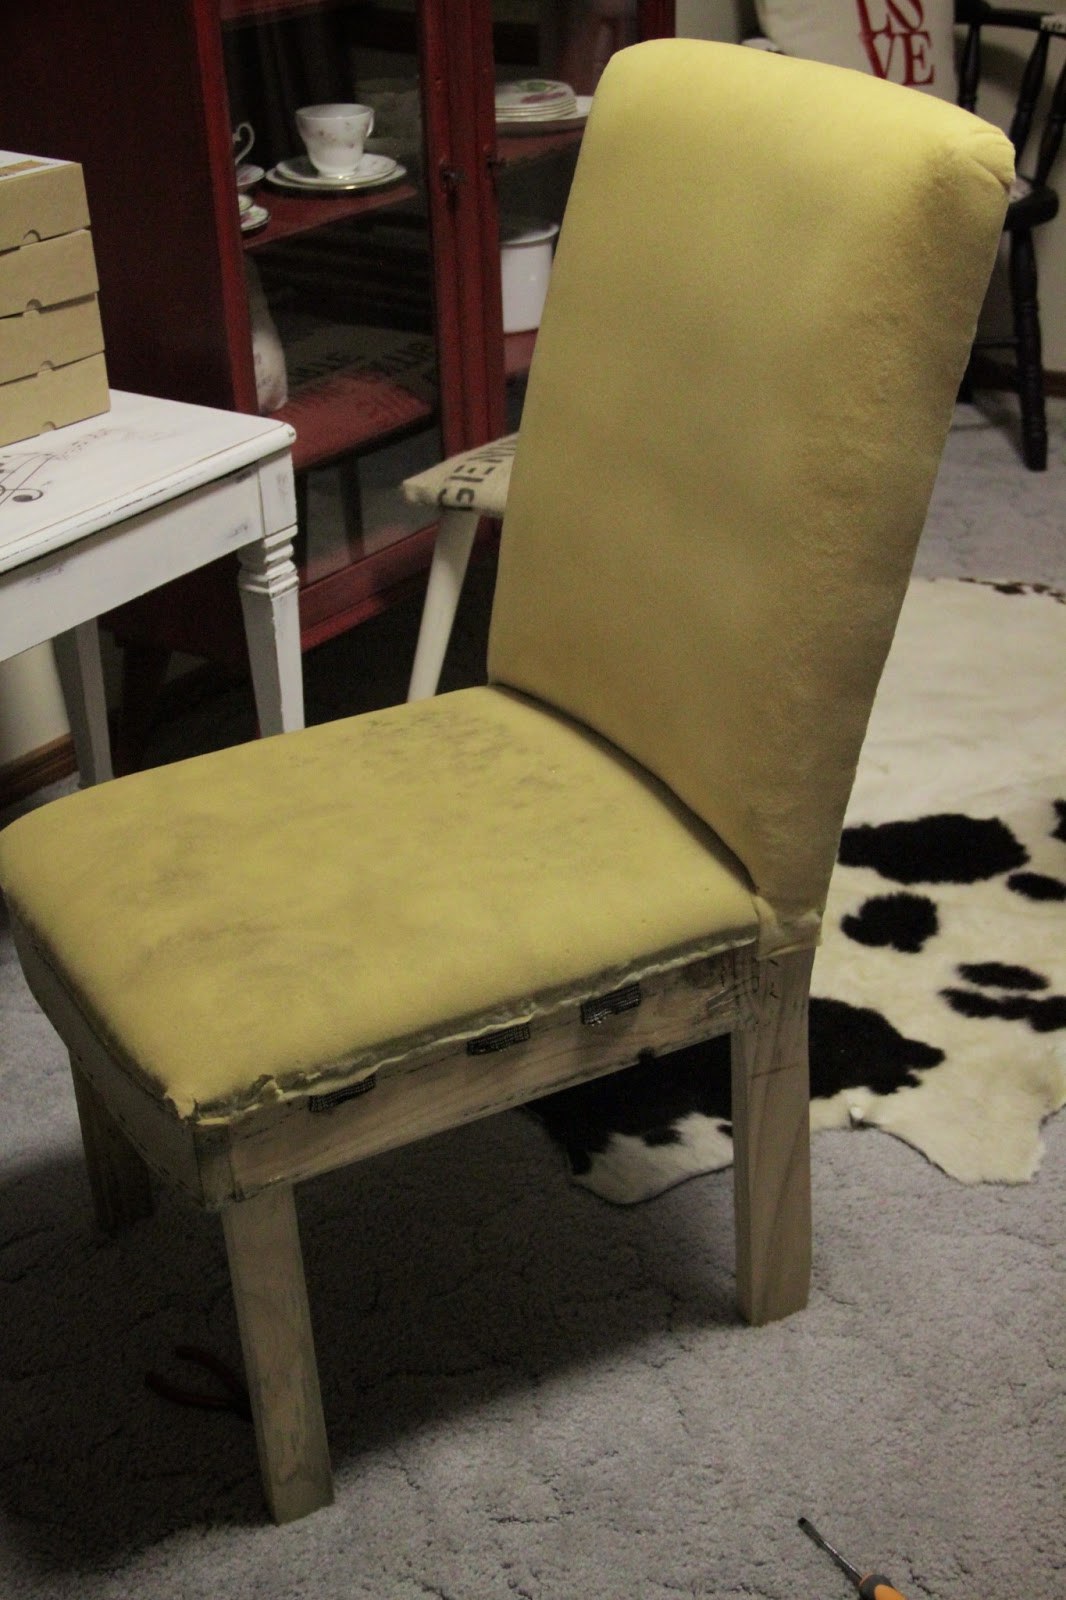
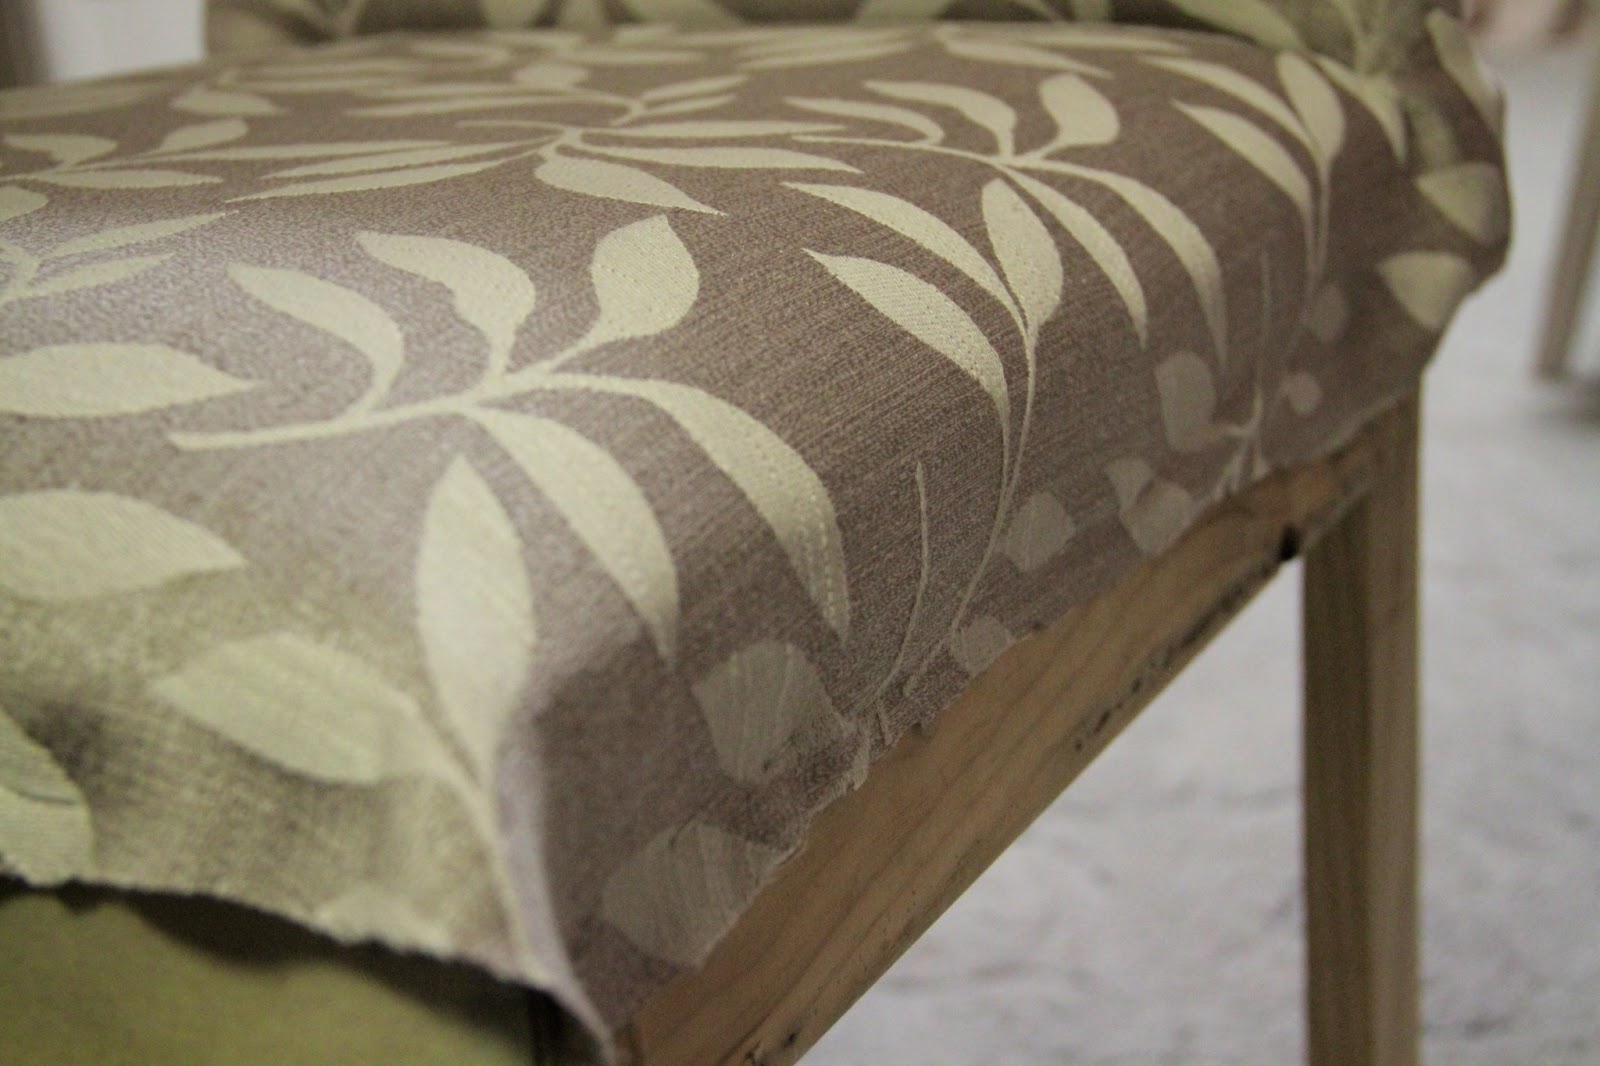
After laying out the pieces I removed, to use as a pattern for the new fabric, I began the rewarding process of seeing the “new” chair take shape.

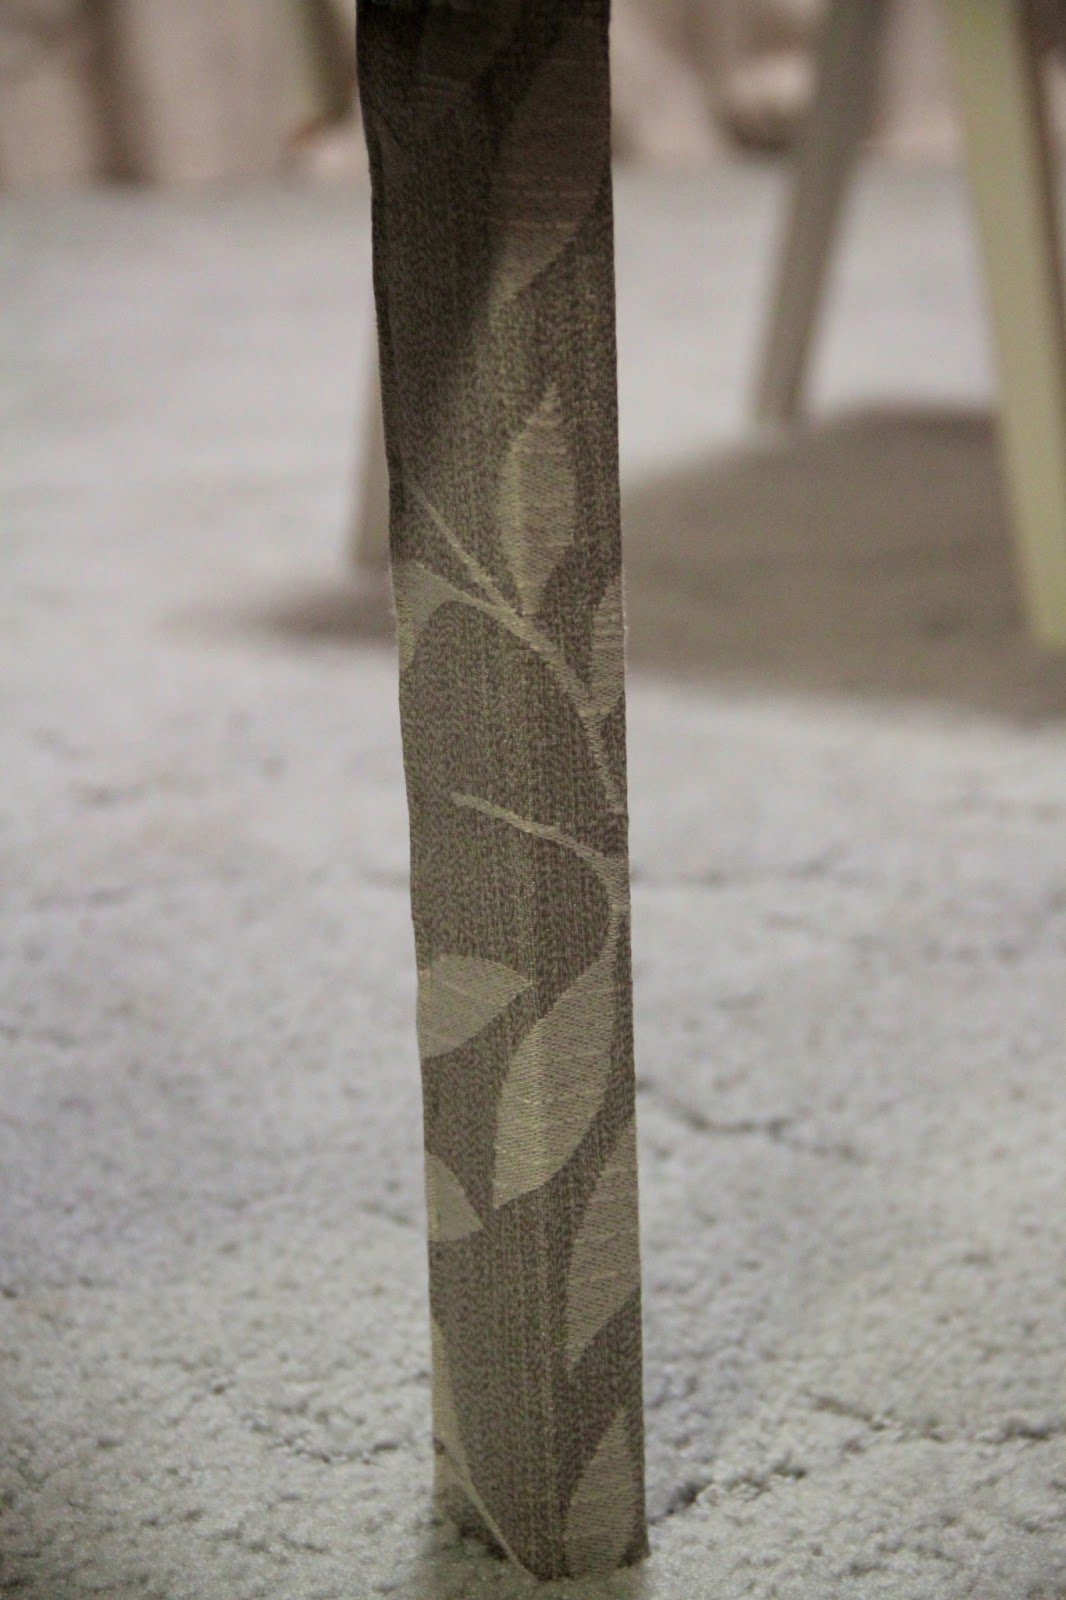
Even though these legs are not seen in the finished chair due to an overskirt, the upholsterer before me had covered each leg, so I copied exactly what had been done before.

Here was when I got a little excited that I was ALMOST finished! Just had to add the back and the skirt.


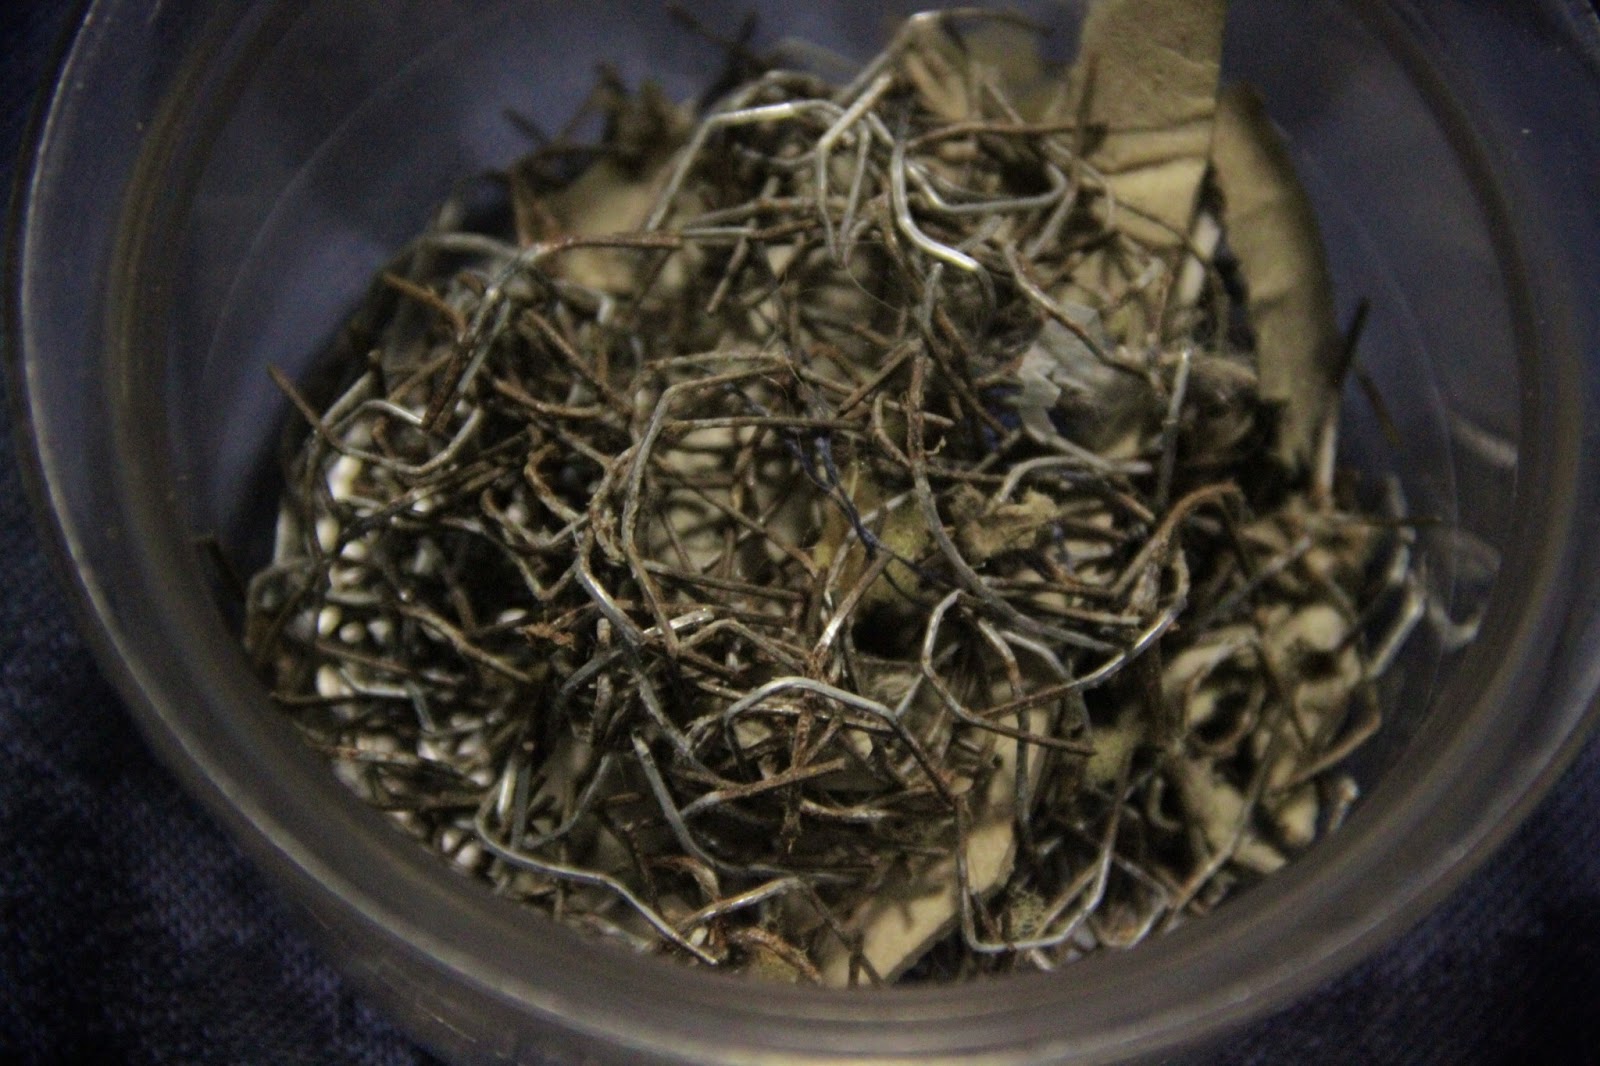
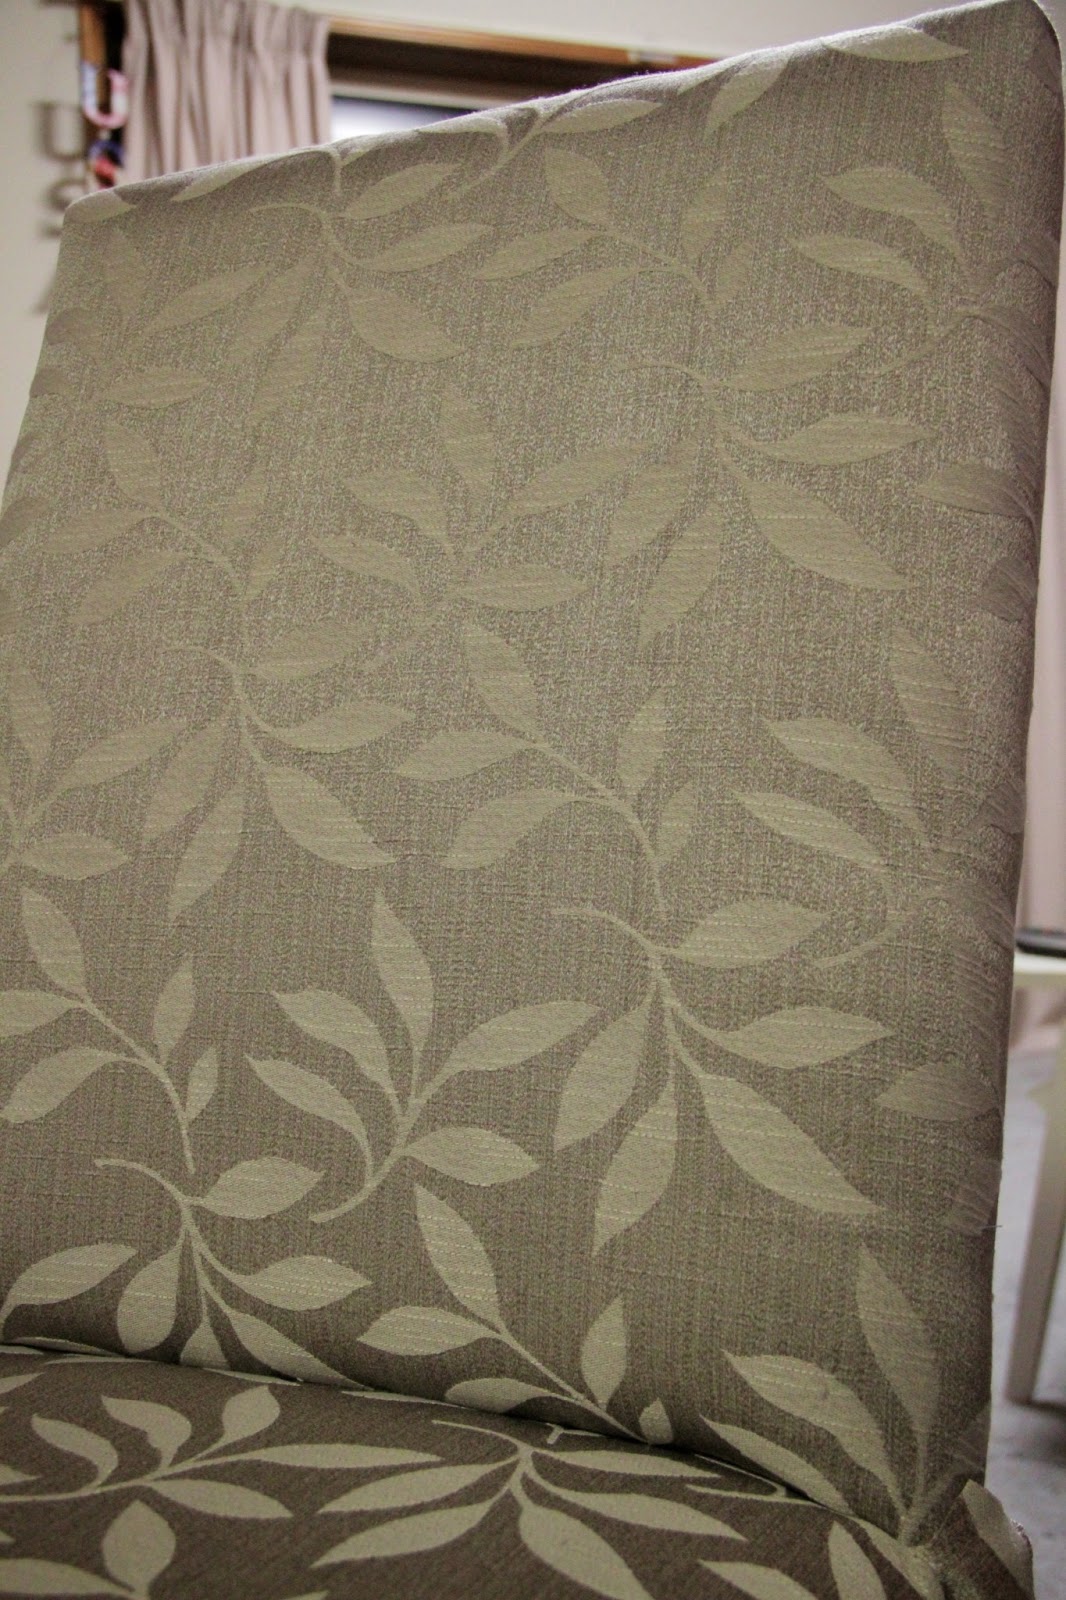
I actually re-used the metal spikey things that upholsterers use to run down the sides of the back to stabilise and keep tension on the fabric across the back of the chair.

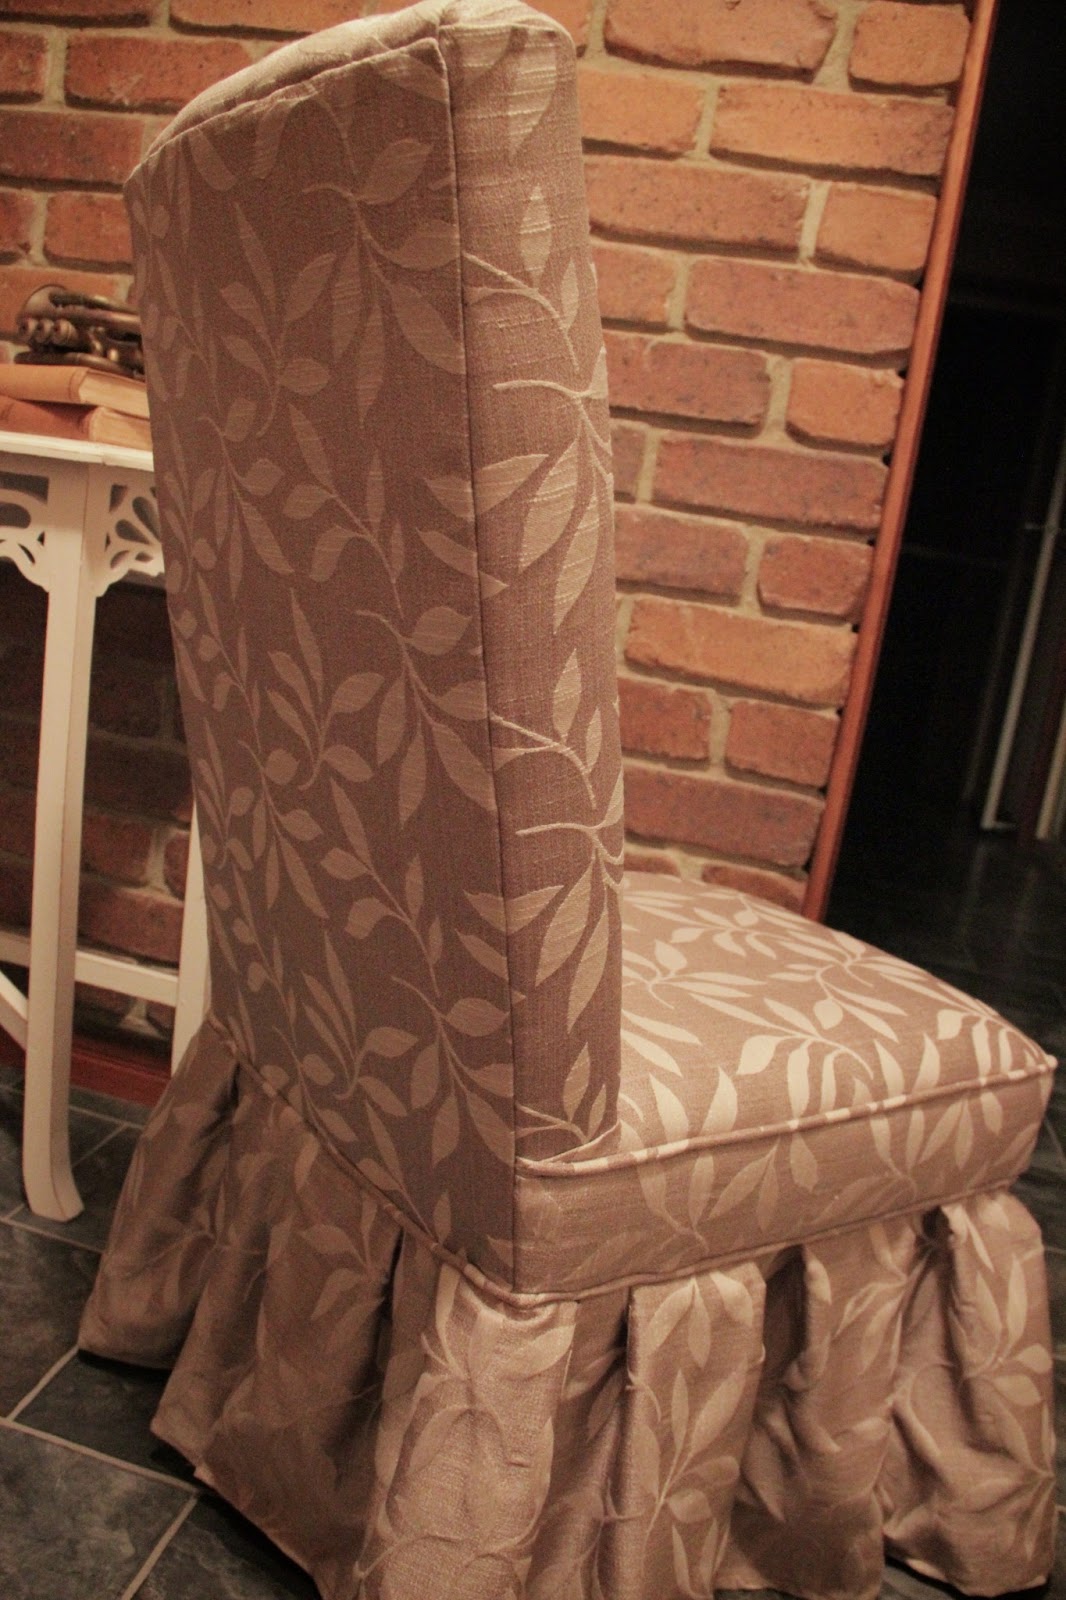
Back of chair now firmly in place:

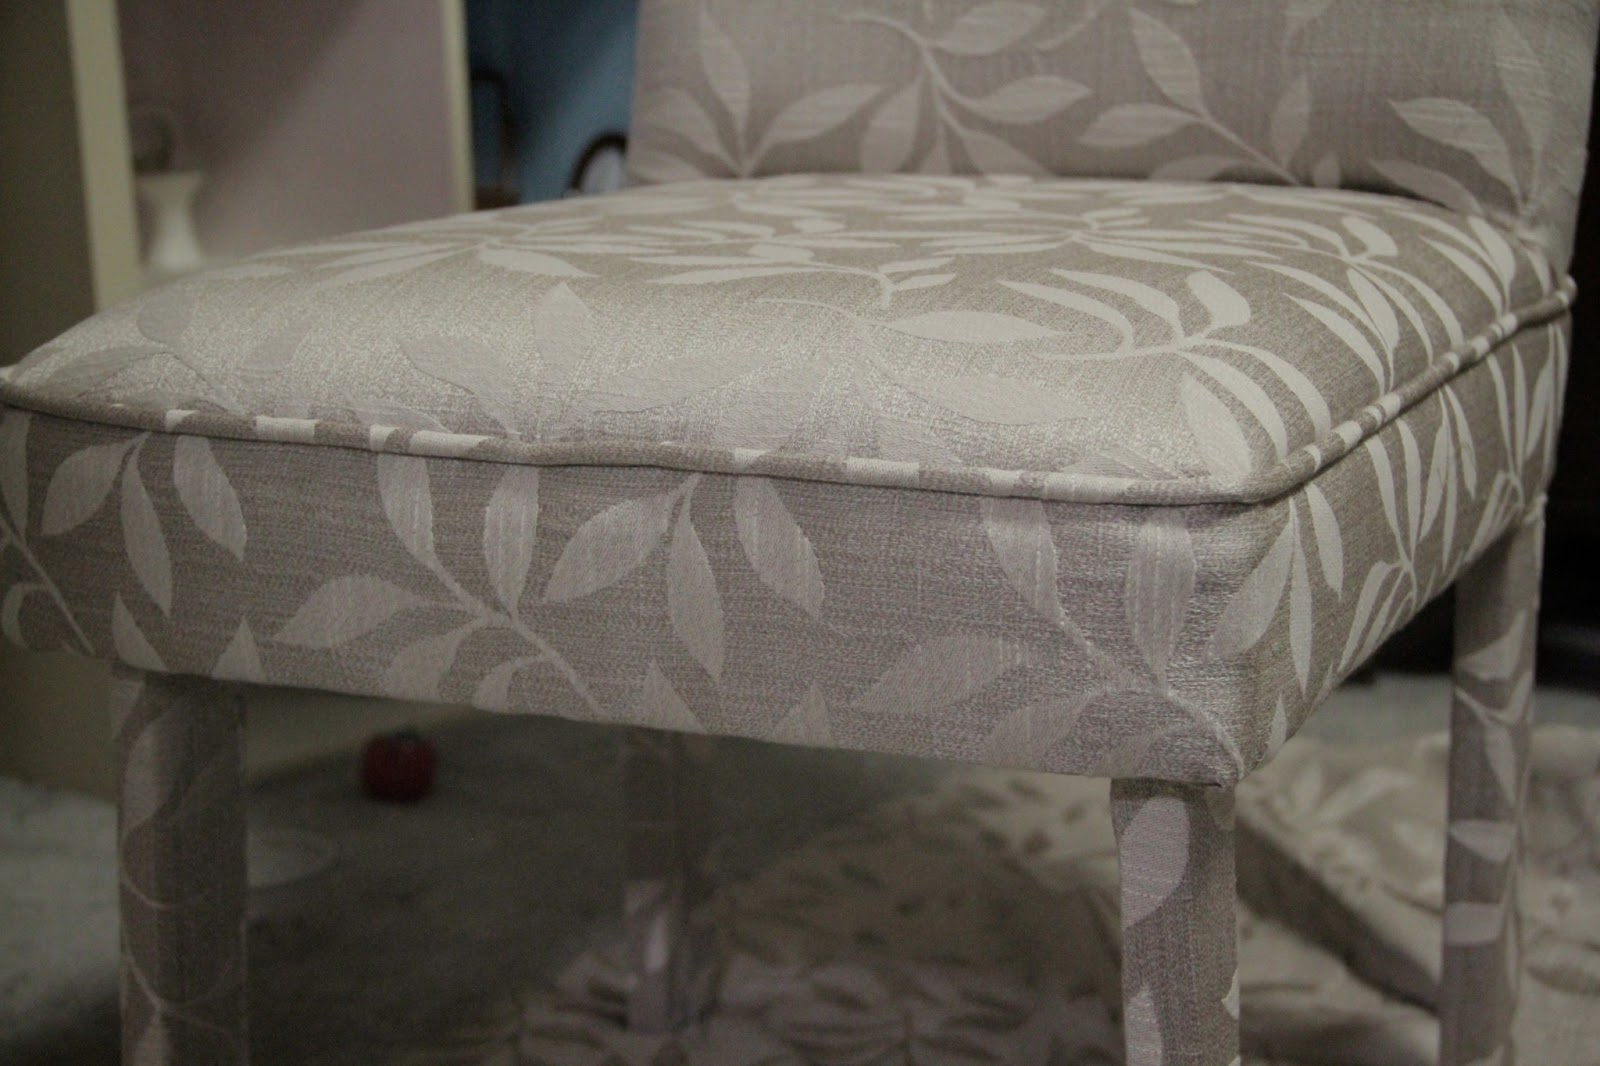
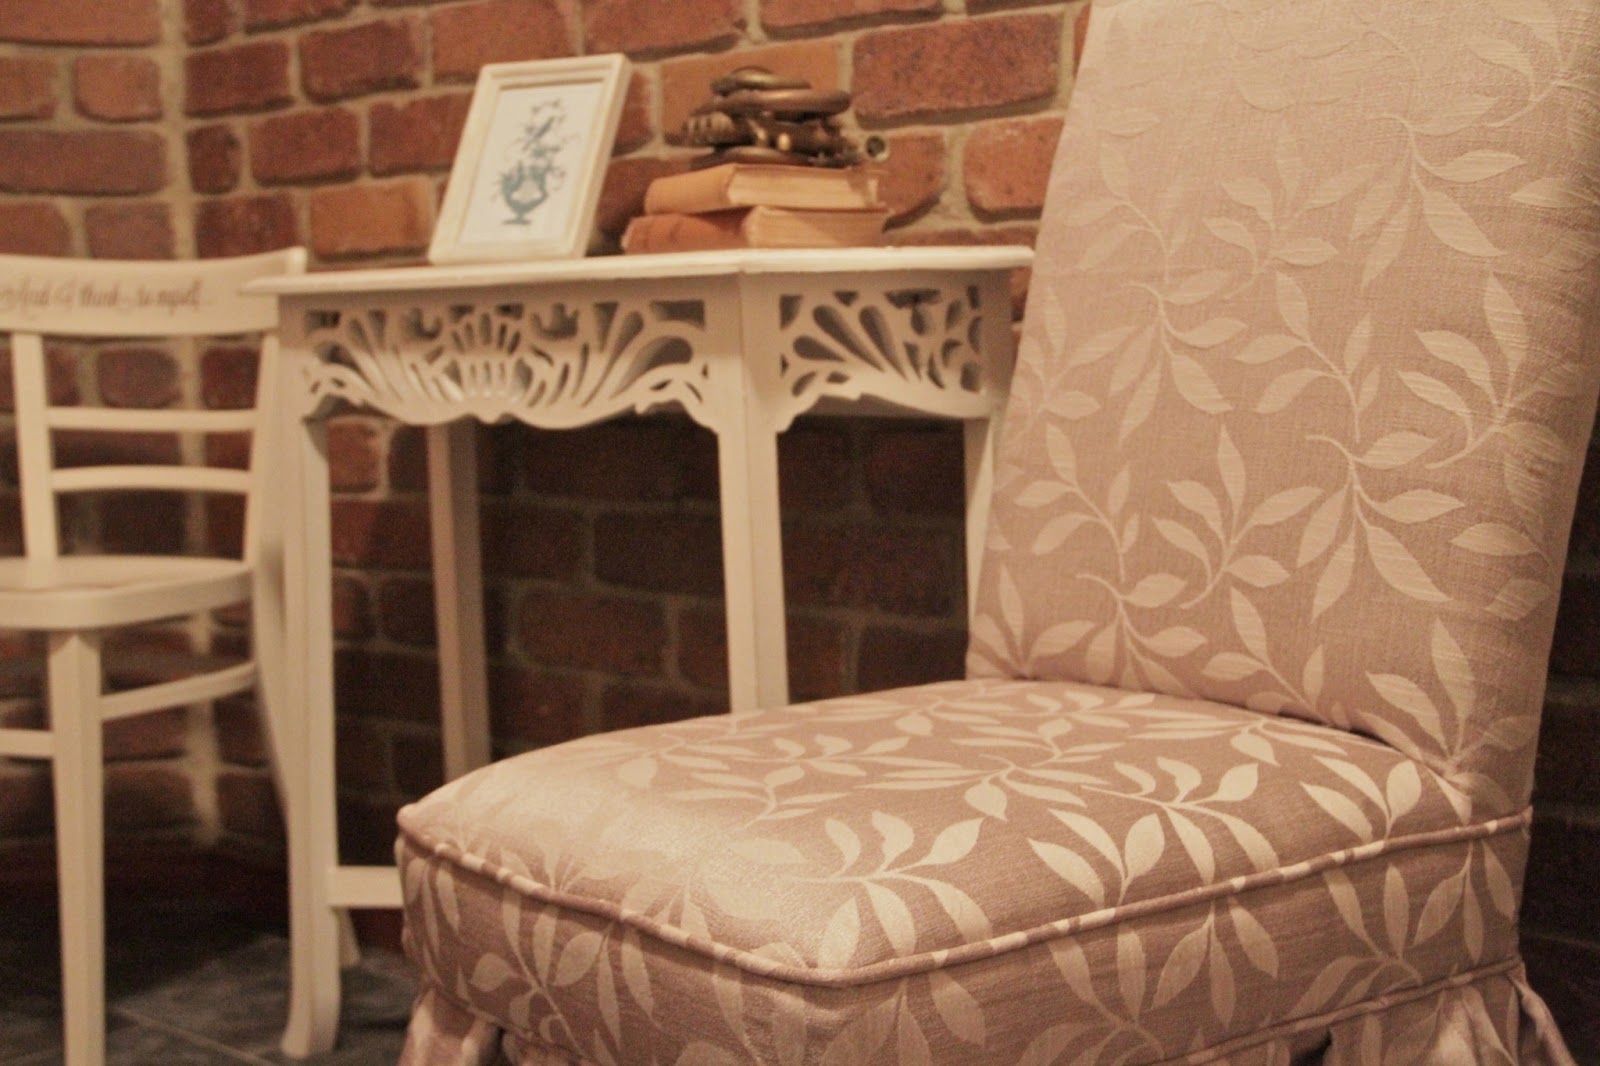
Skirt attached and we have the finished chair:

I had enough fabric left to create 2 matching cushions to add to my friend’s bedroom decor.
I added piping around the cushions as well, to match the look of the piped edges on the chair.


Thanks for visiting my blog. You’ll find a lot of DIY type tutorials as you browse the labels to the right to find related topics or skim through the blogs by date above.
You can join me on Facebook, Pinterest, Youtube or visit my Etsy store by clicking on the panel buttons to the right.
Here’s a video of a piano stool I restored using some Paris fabric for the seat:
We are authorised retailers for Fusion Mineral Paint and Miss Mustard Seed's Milk Paint in Australia. This blog post may contain affiliate links.

1 Comment
Ange
February 22, 2013 at 6:53 amFAN-BLIMIN-TASTIC Sharon!!!! You have done an amazing job. And now I bet you’ll be keeping an eye out for your next upholstery project. Once you get the bug it’s hard to resist haha
Ange x