
An Antique Fridge Find
When this antique fridge or ice chest came to my workshop, I knew it would be a fun project. Loads of history, character and charm. It seems to have been given a coat of white undercoat sometime in its life, but there’s no other evidence of layers of paint, so I’m wondering if it was just wood before that.
(If you want to see my video tutorial on how I completed this makeover, you can check it out ).

Sanding
After a good sanding back of the top, it revealed lots of chipped wood with puttied dents, but all these little flaws give it historical flavour. I sanded the rest of the body of the fridge lightly all over, but I intended to paint the base of it anyway, so no need to sand right back.

Sanding back the white paint revealed this old metal plate branding of the manufacturer: Mawson Reg. No. 24615

A little bit of Paint Stripper
To get the paint out of the grooves in the lettering on the metal plate, I used some paint stripper, let it set for about 30 minutes and scrubbed it with an old toothbrush. The paint came off easily. Unfortunately, there was some original black paint in the background of the lettering which was also removed.
Below: the inside of the metal fridge casing. You can see the top shelf which would have held the large block of ice to keep it cold, with a drainage hole. There should be a pipe leading from the top drainage hole down to the bottom one, which leads to the outside of the fridge underneath.
I assume a tray would be kept underneath to catch the melting ice turned water.

Cleaning the Castors
These old castors are pretty solid and still turn quite well, but needed a bit of a clean up.

I just cleaned with soapy water and a scourer. This scrubbed it up well enough to see the maker’s label on the casters too: “Chris Turner Makers, Brisbane”

Painting with Milk Paint
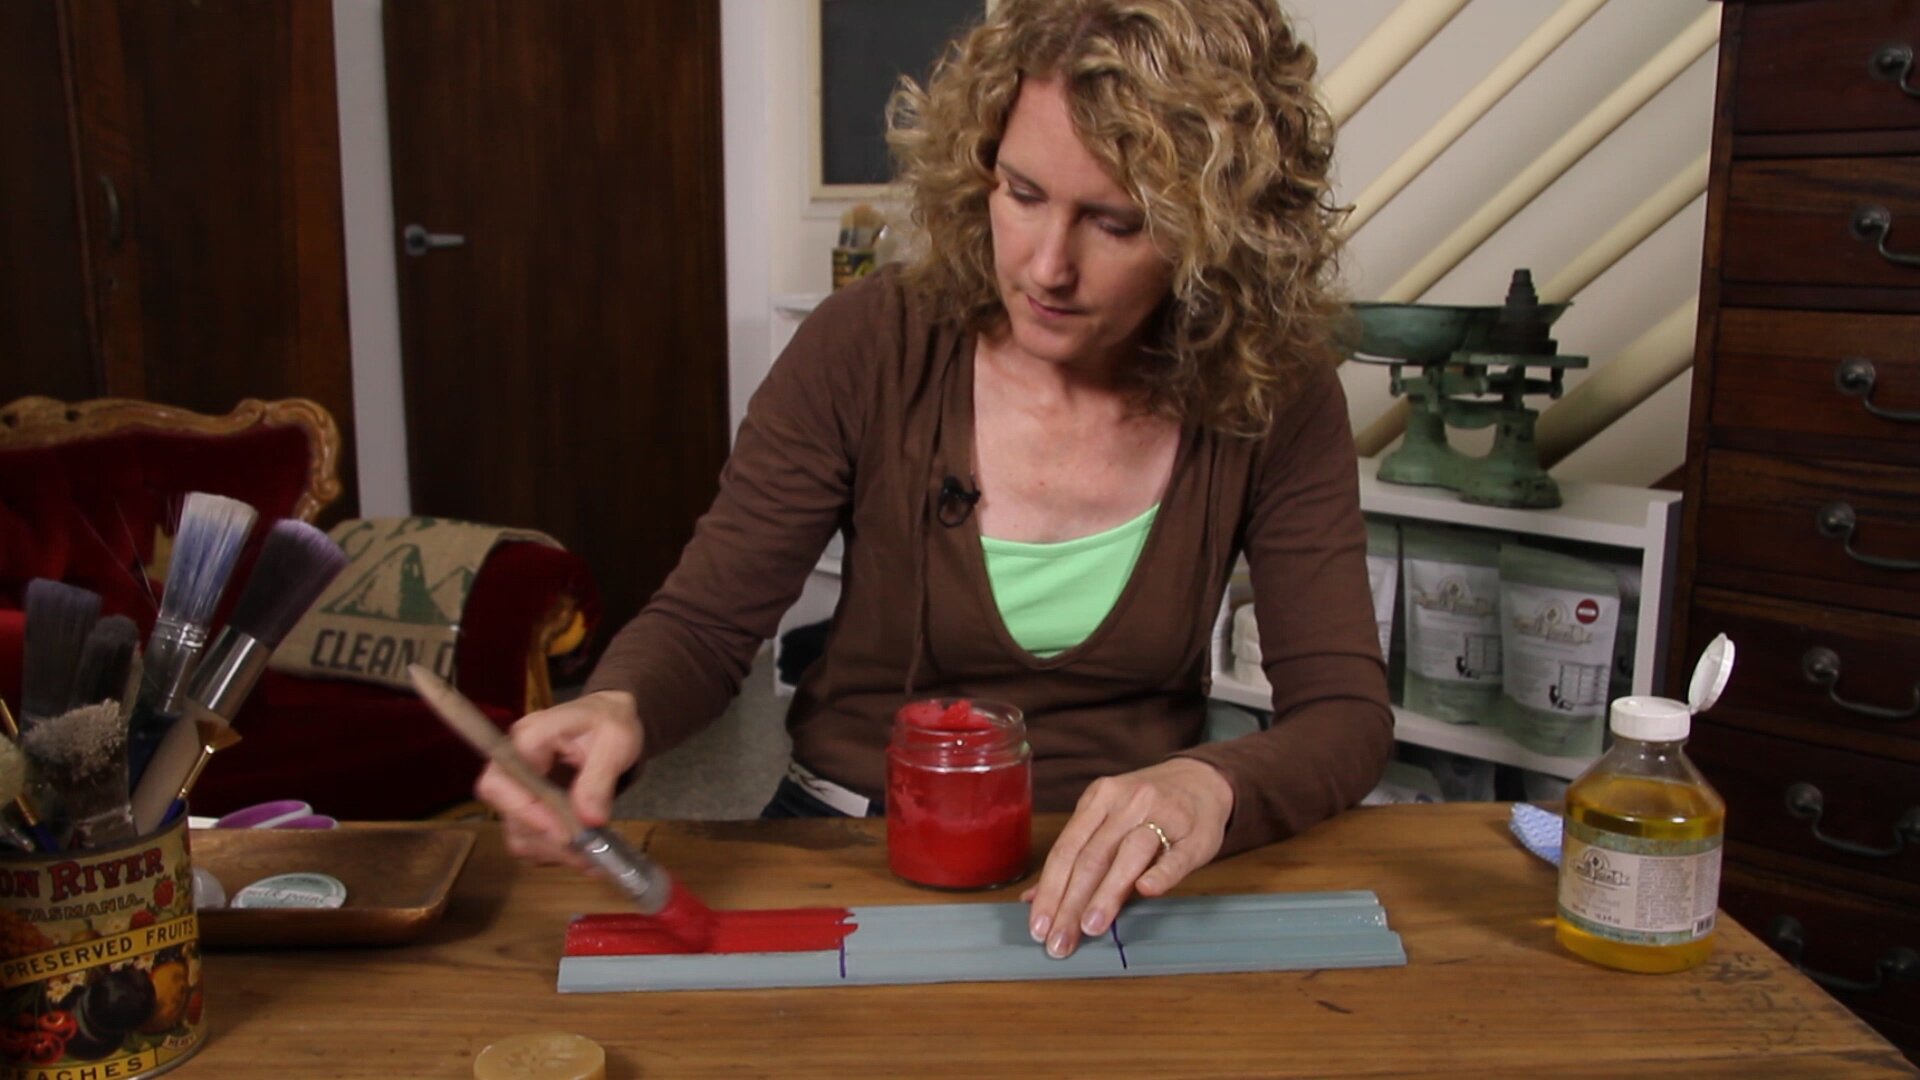
Now, to get the painting part done. I opted for Miss Mustard Seed’s Milk Paint in Eulalie’s Sky which is a beautiful sky blue with icy aqua tones. I thought it fitting for a fridge.
If you have never tried using Milk Paint before, don’t be scared and put off by the fact that you need to mix the paint powder with water. It really is quite easy and the results the paint gives is amazing. Such a rustic, authentic vintage look.
Here I have a sample sachet of Eulalie’s Sky, which is a generous 2 tablespoons (30gm). This small amount mixed with the right proportion of water (I used 1 part milk paint powder : 1.5 parts water), was enough to paint the entire fridge base!
Click for a video on how many things you can paint with one sample sachet of MMSMP.

Mixing
The cute milk paint mixer below is simply a milk frother, but so handy for mixing milk paint in a jar. We sell them in our online store HERE.

Pour the water into the paint and mix. You can also use a spoon to mix, but this will take a lot longer.
I also use another method of mixing in a mason jar which I demonstrate in this video .

Here it is after painting the bottom section (remember I’m leaving the top wood).
This is before any distressing or sanding back. In this case, the milk paint adhered very well to the wood as I had sanded the whole piece over first.
If you aren’t aware, Milk Paint can be quite random in the way that it chips away on a piece. On more glossy surfaces it tends to chip away more easily. If you are NOT wanting a chippy piece you can also use Bonding Agent which, when mixed with the paint, makes adhesion more effective.

Staining
Next I stained the wood top with a Walnut stain to darken the wood top. Eek, I’m not sure if I like the way the putty fills are appearing more prominent in the darker wood. No turning back now. Oh well, more character!

Hemp Oil Finish
This was my first time to use Miss Mustard Seed’s Hemp Oil.
The result? I love it!

Hemp oil is so easy to use: rub on with a rag or brush generously. Wipe off excess with a rag and allow to dry. Use one or two coats.

Hemp oil is NOT JUST FOR WOOD, but can be used over the entire painted piece!
It gives a beautiful smooth finish and adds a depth of colour to the milk paint.

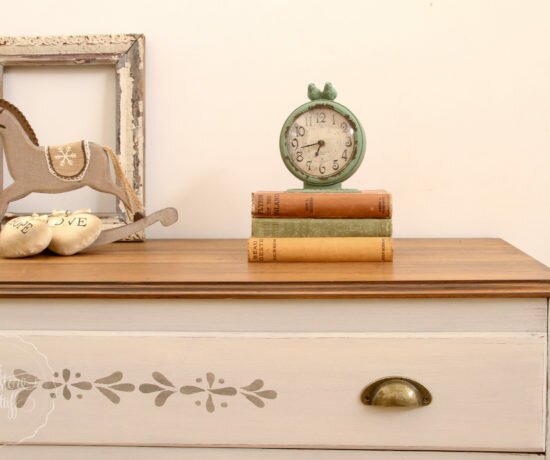
A Matching Frame
How do you like this cute cow painting I found at a second hand store?
I painted the frame using the same colour as the fridge, but you can see the effect of painting over a dark surface (the picture frame was black) and painting over a light surface (fridge was white underneath).

I’m really happy with how this turned out!


Video Tutorials
Here’s a two part I made on this project.
Part One of Ice Chest Makeover:
Part Two of Ice Chest Makeover video:
Please check out my other videos on using Miss Mustard Seed’s Milk Paint along with other great furniture painting tutorials, .
If you are in the Brisbane or Logan area, I hold MMSMP workshops throughout the year which are a fabulous way to learn techniques and tips on getting the most out of your Miss Mustard Seed Products.
If you are an Australian retailer and would like more information on selling Miss Mustard Seed’s product in your store, visit www.refinished.com.au
We are authorised retailers for Fusion Mineral Paint and Miss Mustard Seed's Milk Paint in Australia. This blog post may contain affiliate links.
14 Comments
Jenny
January 16, 2014 at 10:07 amLooks great Sharon – I love those old authentic pieces & the colour is lovely!
Deanne Langford
January 16, 2014 at 10:21 amJust one word: AWESOME!
Mark peter
January 16, 2014 at 8:32 pmThis comment has been removed by a blog administrator.
thegingernutattic
January 17, 2014 at 8:06 amFabulous makeover! Can’t wait to get my first order of mms milk paint! I also just picked up the same cow print this week! Love cows& paint!!
I Restore Stuff
January 17, 2014 at 1:25 pmThat’s awesome! You will LOVE it!
Älfgärdet
January 18, 2014 at 2:15 amTrue happiness when you find people with similar passions! Love your refriderator! Just ordered Milk Paint myself – can’t Wait to try it!
I Restore Stuff
January 18, 2014 at 6:47 amYes! so true. I hope you Love using the milk paint. I have a few video tutorials on using it if you click on the youtube link in my blog.
Happy painting. Sharon.
thecuratorscollection.com
January 18, 2014 at 11:22 amThis was cute before you fixed it up too! Well done…nice makeover, and the cow picture is the perfect accessory!
Smiles!
Terry
I Restore Stuff
January 18, 2014 at 5:11 pmThanks Terry! I do love the cute cow.
Evonne Carr
January 28, 2014 at 10:36 pmAbsolutely stunning!! We’ve had a go at restoring a few things now and again – have a bunch of stuff still waiting. Where do you get the milk paint??
I Restore Stuff
January 28, 2014 at 10:49 pmThank you Evonne. In Australia, I am just beginning as a retailer of this Milk Paint and start workshops this year if you know anyone interested in the Brisbane, Qld area. If you are in the USA or Canada you can look up Miss Mustard Seed’s website and she has a list of retailers there. The Australian distributor is http://www.refinished.com.au. I will have a shop online soon, but you can order from Veronica at Refinished if you are elsewhere in Australia. Other retailers will start here very soon.
Evonne Carr
January 30, 2014 at 10:02 amThanks for the info. I’m in Maryborough, Qld. Will you be selling it via etsy at all?? I found and favourited your shop so I can stay up to date 🙂
I Restore Stuff
January 30, 2014 at 11:09 amI won’t be able to sell it through Etsy Evonne, but I can send you some info while I’m waiting to set up my online store if you’d like to send me your email address. You can email me at
Rustic Farmhouse Table – Miss Mustard Seed’s Hemp Oil Makeover | I Restore Stuff
March 8, 2014 at 11:29 am[…] I came across. Don’t you just love it? This belonged to the same gentleman who gave me the Antique Ice Chest to restore. He said he lived in Brisbane, Queensland (my stomping ground) as a child in a place […]