
I am getting ready for another market this weekend, so have been busy painting, waxing, pricing, etc.
But I have been wanting to post about this old rocking chair that you may have seen some progress pics of via my or Instagram.
The chair came to me looking a little worse for wear … the person attempting to re-cover it, gave up and passed the chair on to me.
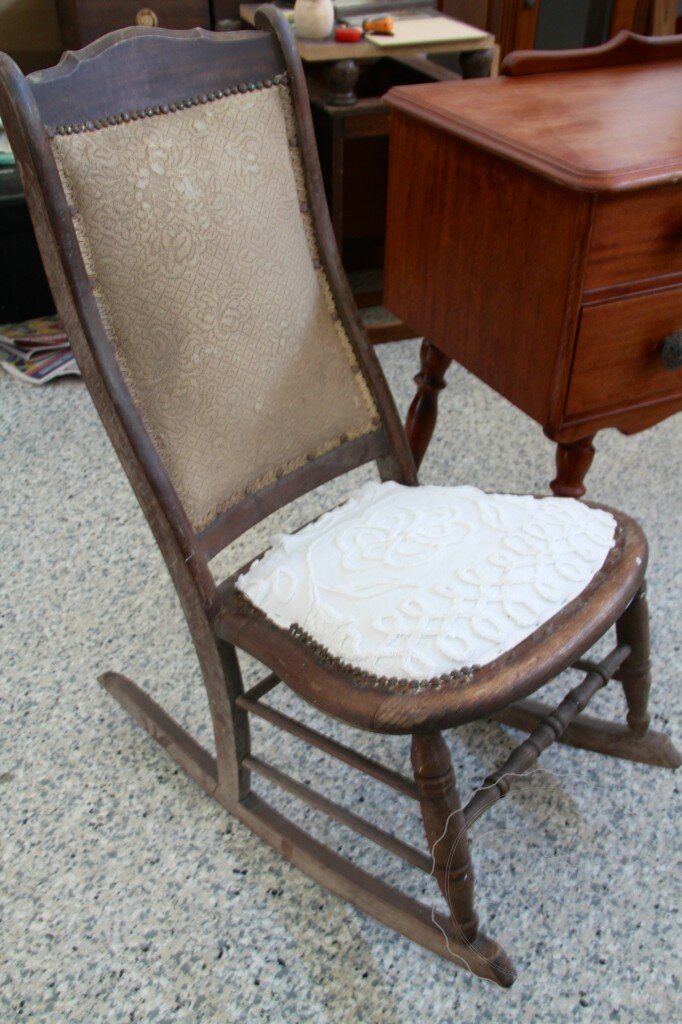
Here are some more “Before” pictures:


So I removed all the tacks and tiny upholstery nails which is always the worst part of any upholstery makeover!
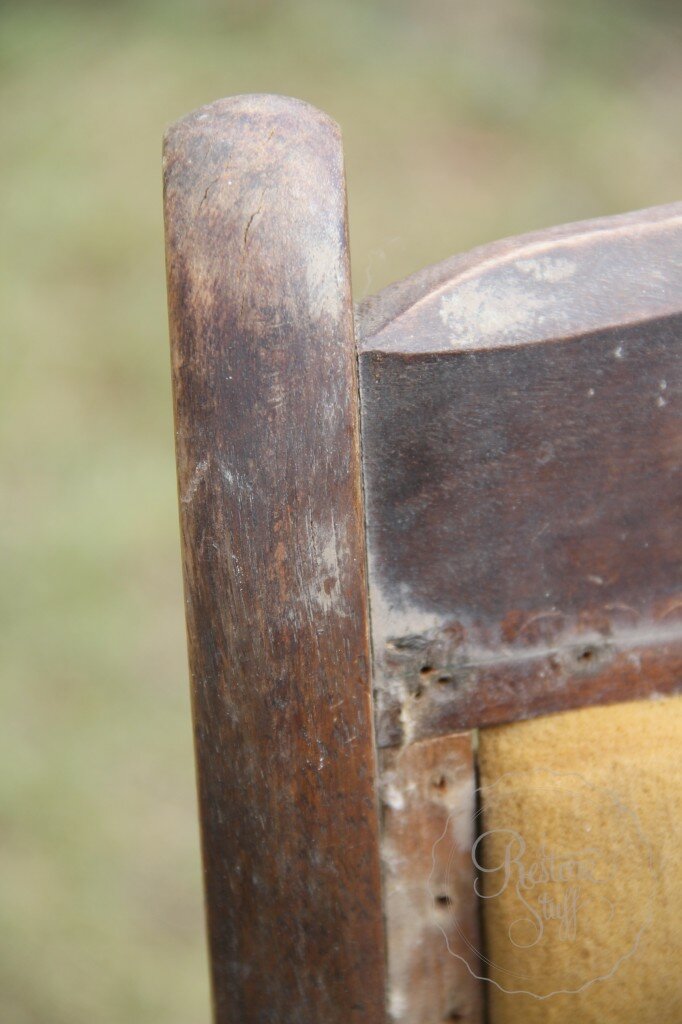
And I sanded the wood back as best I could to reveal the old timber under the grime and dirt and old varnish.
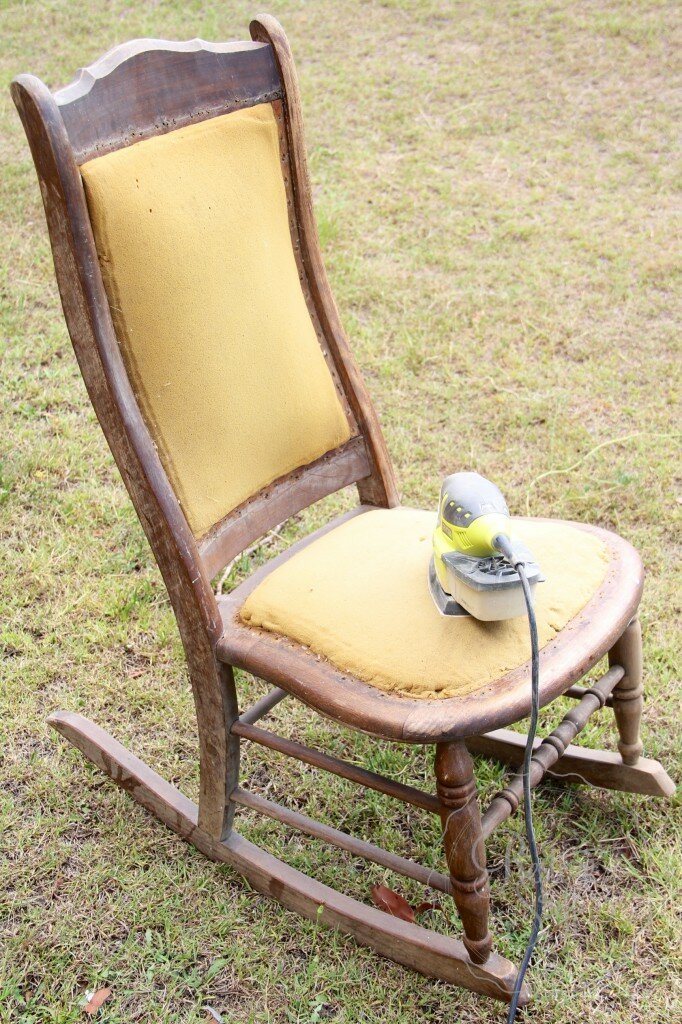
All sanded ready to touch up the wood with Miss Mustard Seed’s Hemp Oil.

You can see the difference the Hemp Oil makes on this pic below. The darker section is where I have rubbed the hemp oil with a cloth. The lighter sections are still to be done.

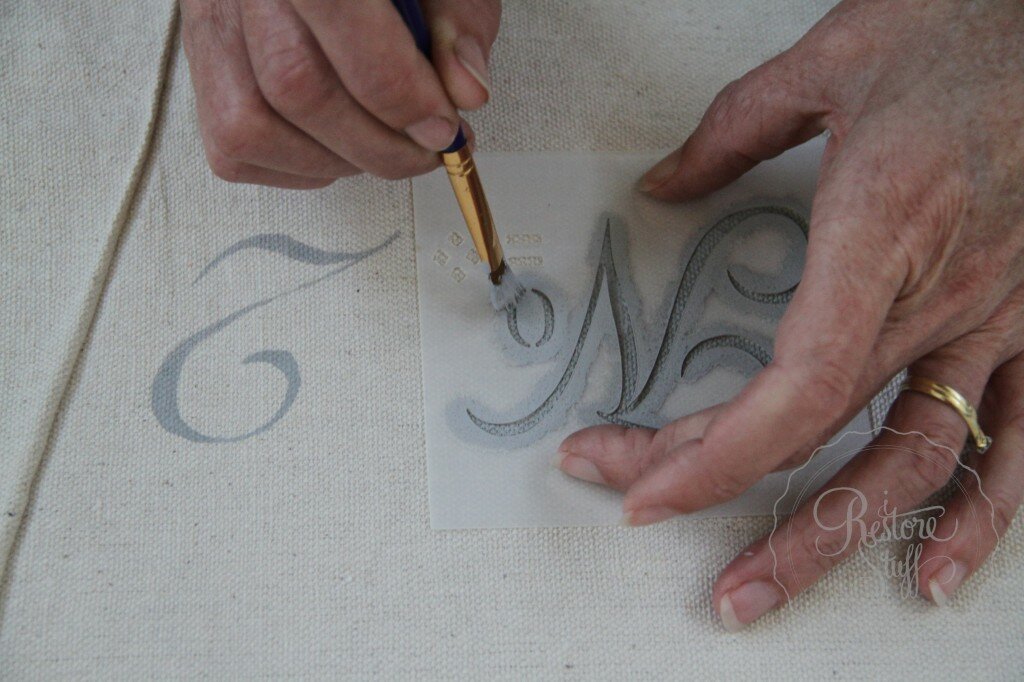
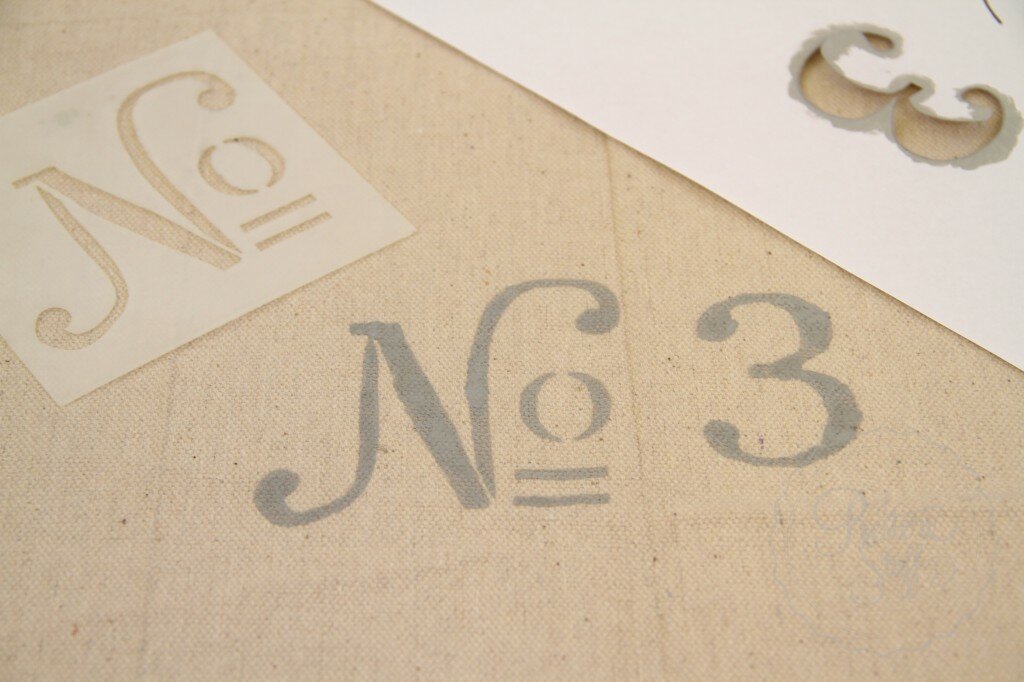
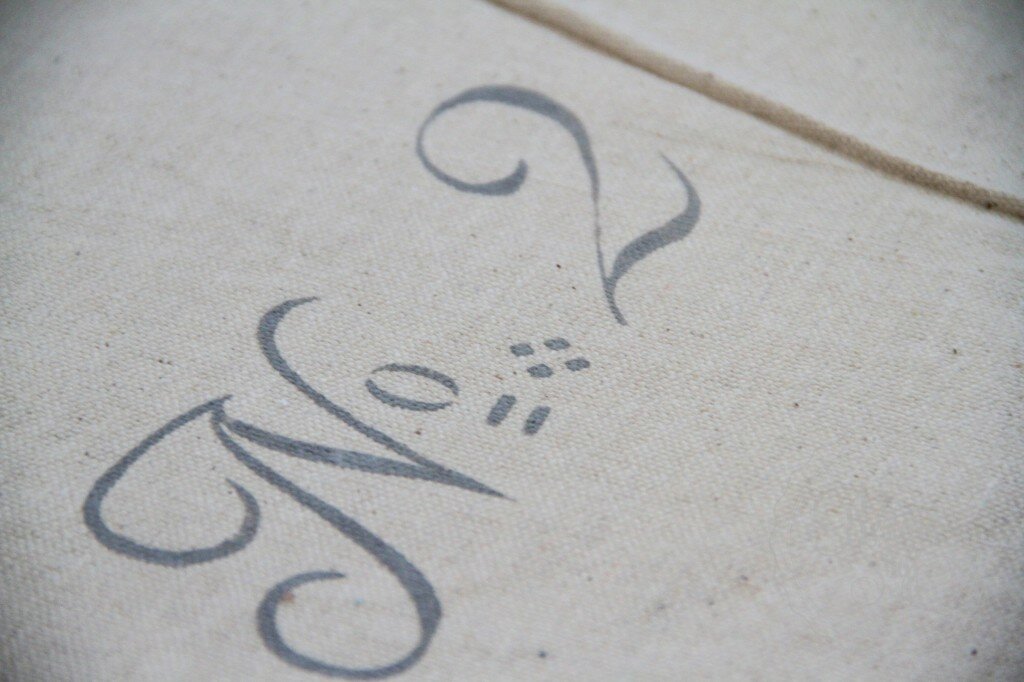
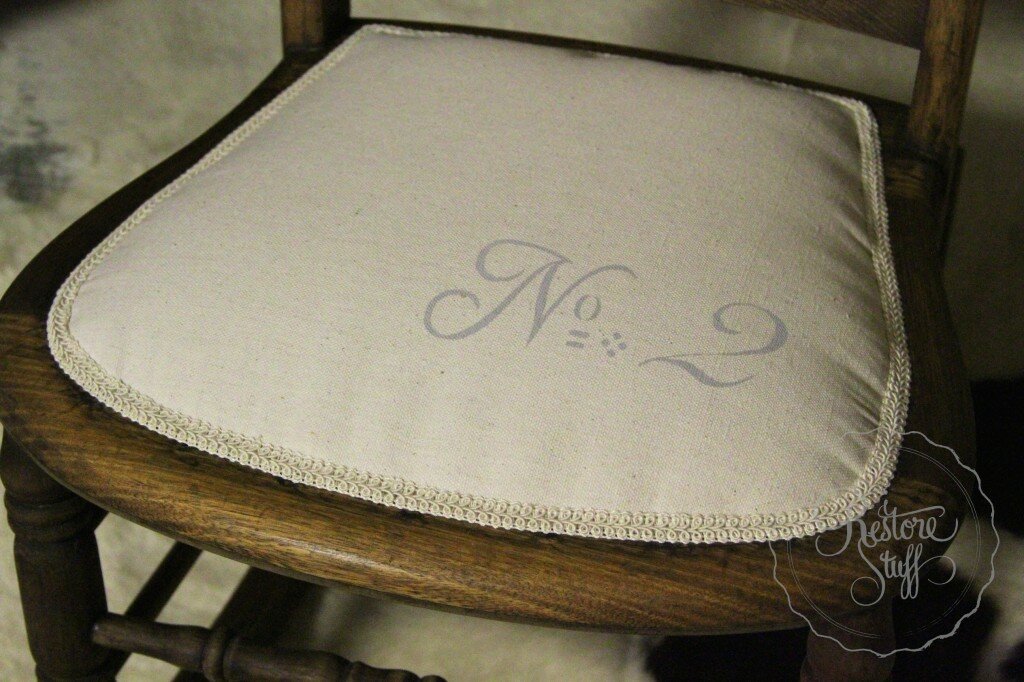
Now to do the fabric. I wanted to have a bit of a burlap/grain sack, natural fibre kind of feel, so I chose to use drop cloth fabric. This is great for strength, durability and drop cloths come in a natural fibre looking grain sack/burlap colour. YES, I mean an ordinary painter’s drop cloth like you buy at the hardware store.
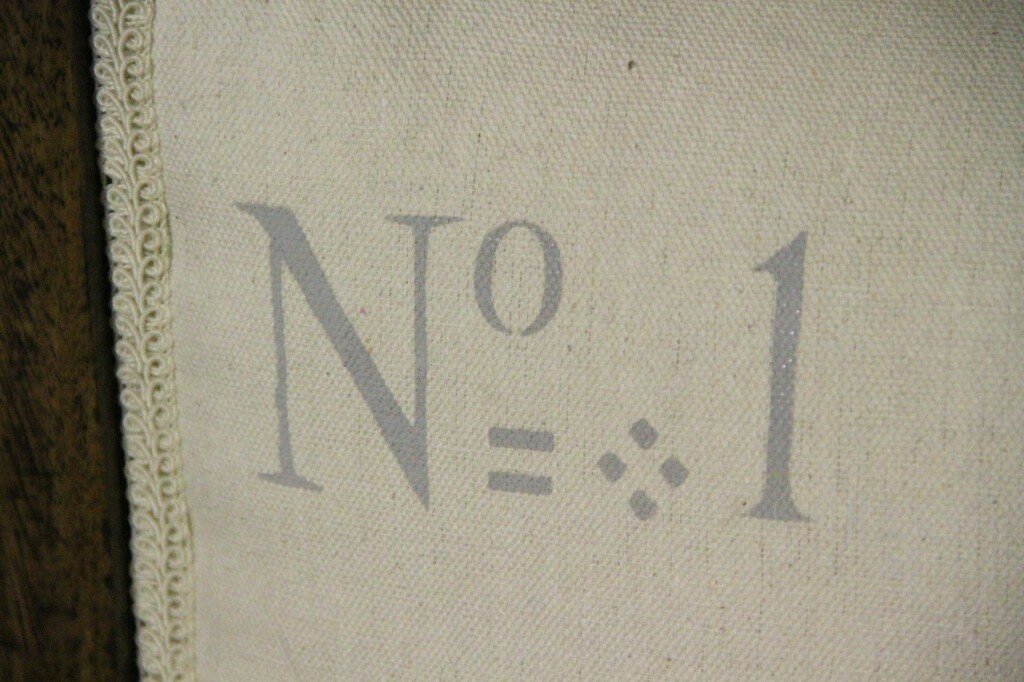
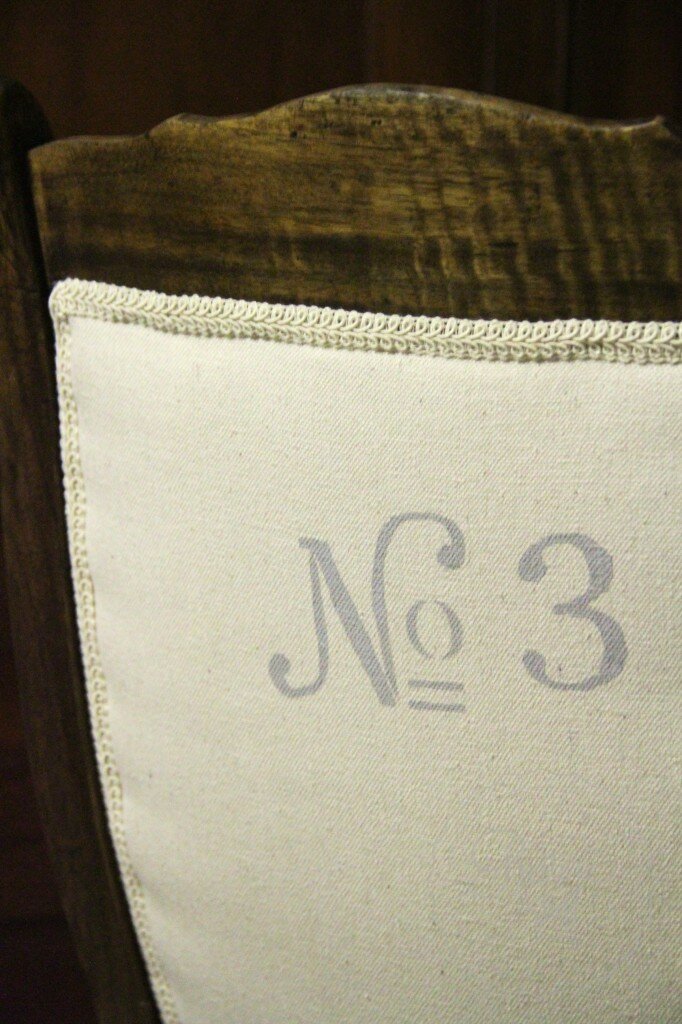
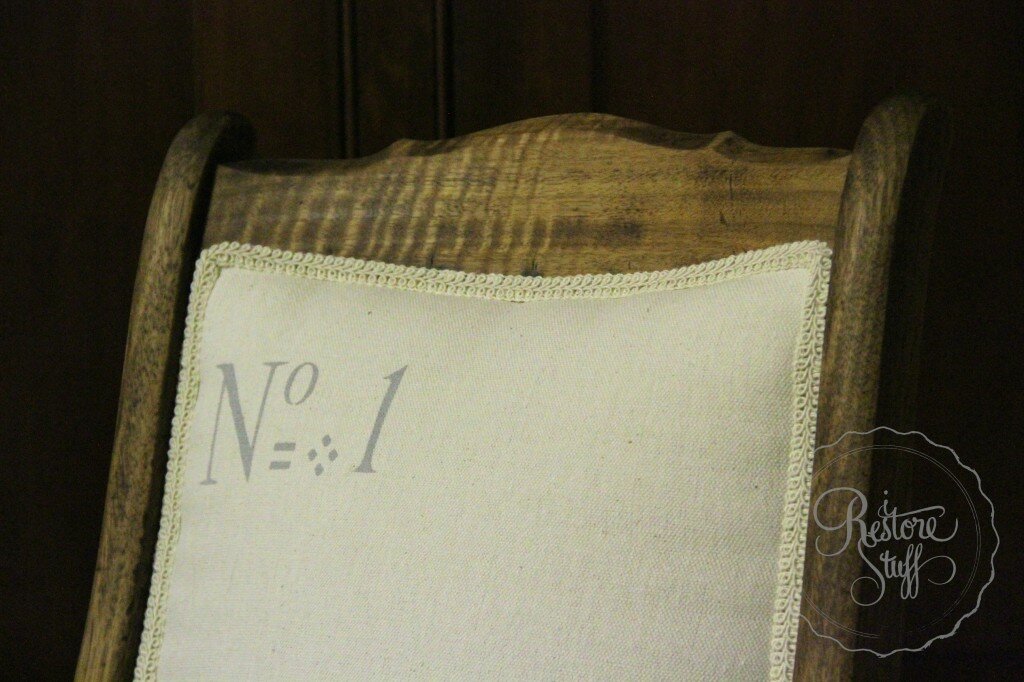
I used stencils I found at Blake & Taylor and painted them with Chalk Paint (ASCP Paris Grey) The actual numbers do not come with the stencils, just the 3 different types of “No.” so I searched for matching fonts for each of the number stencils and made my own by printing them on paper and cutting the number out with a cutting knife.

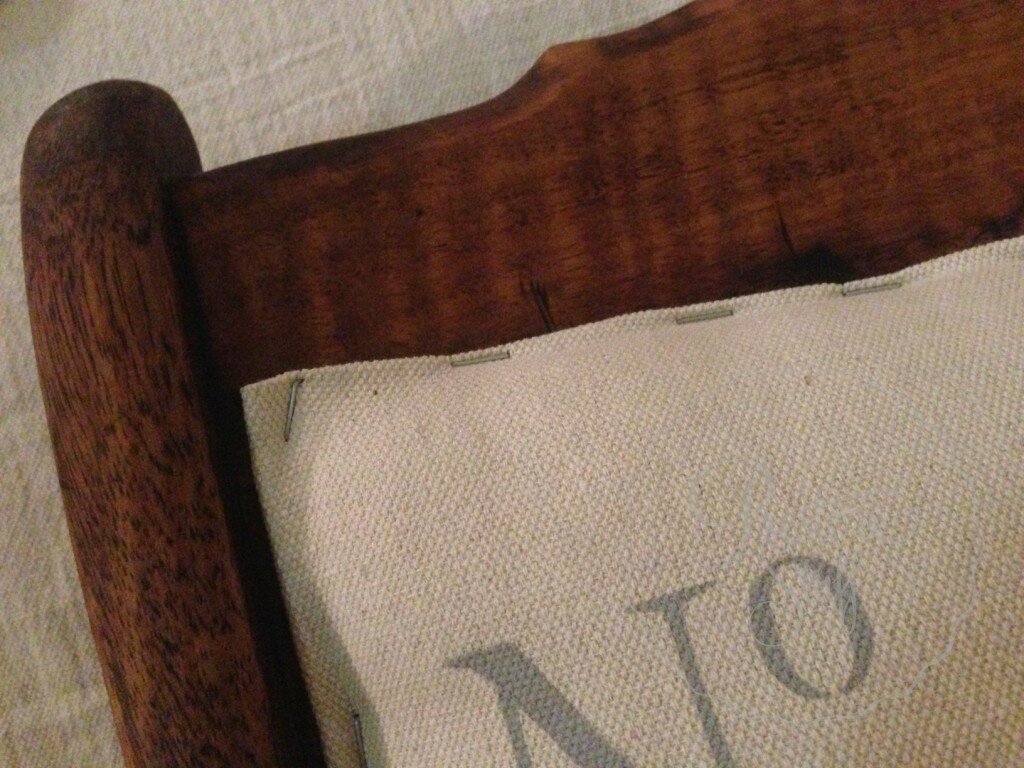
I had measured each panel, leaving enough room to tuck under as I stapled around the edge, pulling it tight in each direction. Starting with a centre staple in each end of the piece you are working on, pulling it taut as you go, then working out to the corners.
This pic is low quality due to using iphone at night, but you get the idea. I wanted to show you how I added a bit of dacron to under the fabric, to separate the fabric and the grungy existing foam. I didn’t want to replace the old foam as it still held good form, but wanted to lift it a bit also. The dacron gave it a nice extra fill.

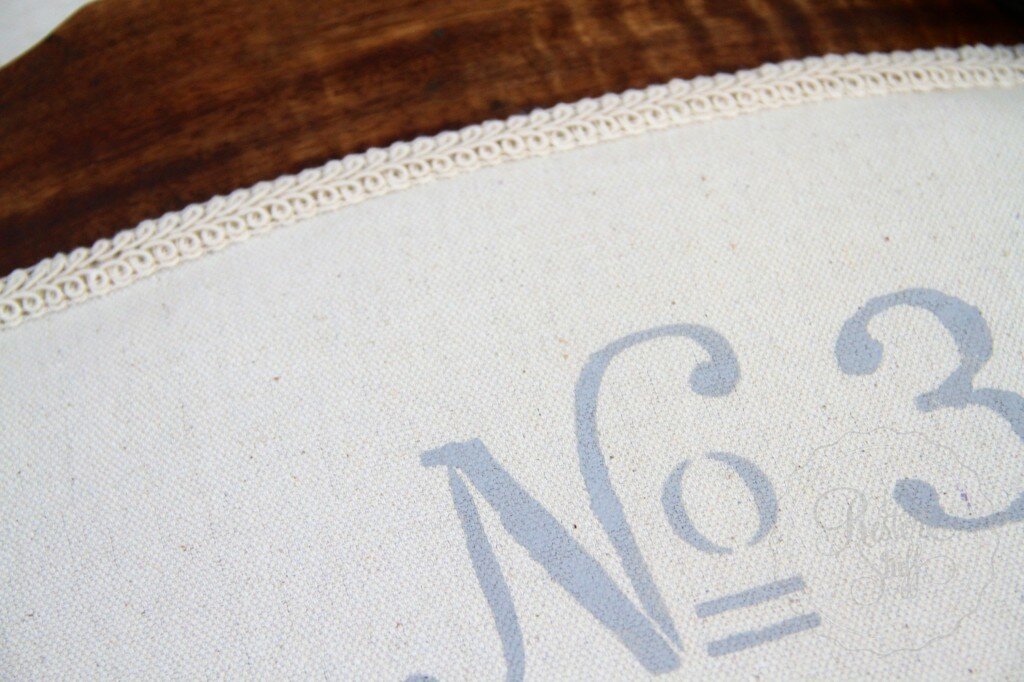
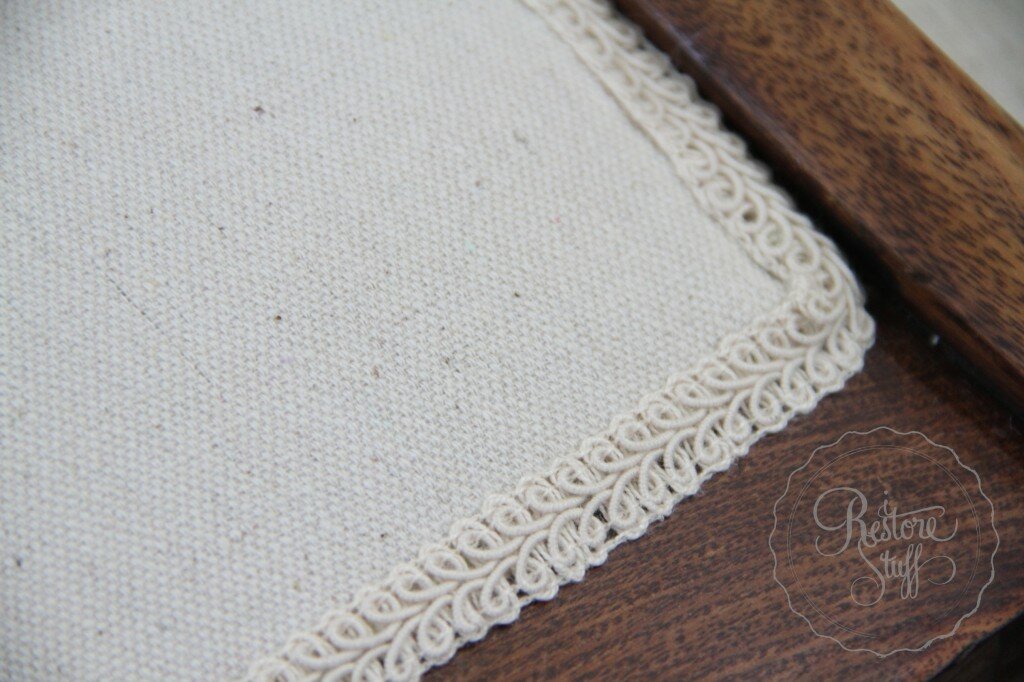
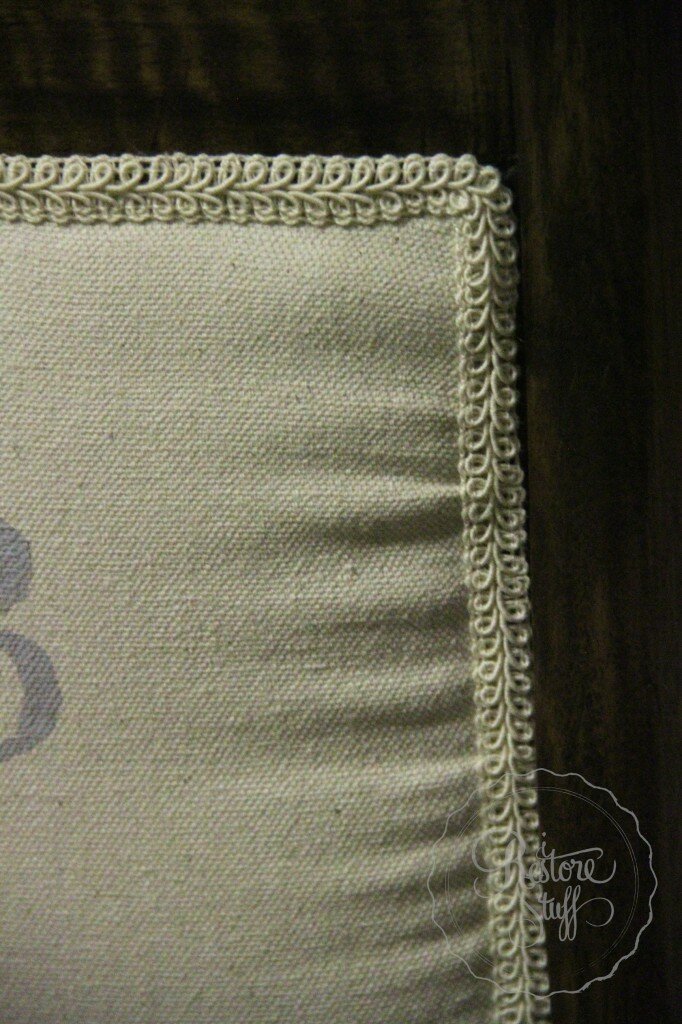
After stapling all three panels, I used a hot glue gun to run this pretty linen coloured, cotton edging tape around all the edges. Careful not to burn your fingers when you use one of these – it HURTS!


I was a bit disappointed how this little bit of puckering happened on the back panel, but I can live with it, since no one looks at the back anyway.

She’s a gorgeous old piece of furniture and is up for SALE if anyone is in the Brisbane area and would like to arrange pick up. Message me for more details and to see if still available.
Have a great weekend everyone!
We are authorised retailers for Fusion Mineral Paint and Miss Mustard Seed's Milk Paint in Australia. This blog post may contain affiliate links.


5 Comments
Kim
March 24, 2014 at 11:58 pmThis looks so nice. I understand how you may not like that little bit of puckering-sometimes slight imperfections drive me crazy when I am working on a piece but we are human after all not a machine and I think sometimes these things give pieces more charm! Thanks so much for sharing. I love that little rocking chair!
admin
March 25, 2014 at 7:00 amThanks for your comments Kim. You’re right – she’s a charming little chair, imperfections and all.
Alicia@ eco friendly homemaking
April 3, 2014 at 12:12 pmWow your chair turned out looking beautiful!
Tiny Stool Makeover | I Restore Stuff
May 18, 2014 at 10:07 pm[…] doing this, I thought it would have been a great little piece to go with the rocking chair I did HERE.And look at those legs. I gave them a good rub over with Miss Mustard Seed’s Hemp Oil. […]
A Baby Name Sign – Miss Mustard Seed’s Milk Paint Custom Color | I Restore Stuff
August 21, 2014 at 12:06 pm[…] a side note, the same friend bought the beautiful antique rocking chair I had re-furbished earlier this year. You can see the post about the […]