How and Where Can I Use Stencils?
Stencils are a hot item right now.
There are so many great designs out there and so many ways to use them.

Here are some of the ways I’ve used stencils in my upcycling (click the photo to see full blog post of each project):

Coffee Stencil on an old Wardrobe & an “Antiques” vintage sign above it.

Moroccan stencil on an old wardrobe.
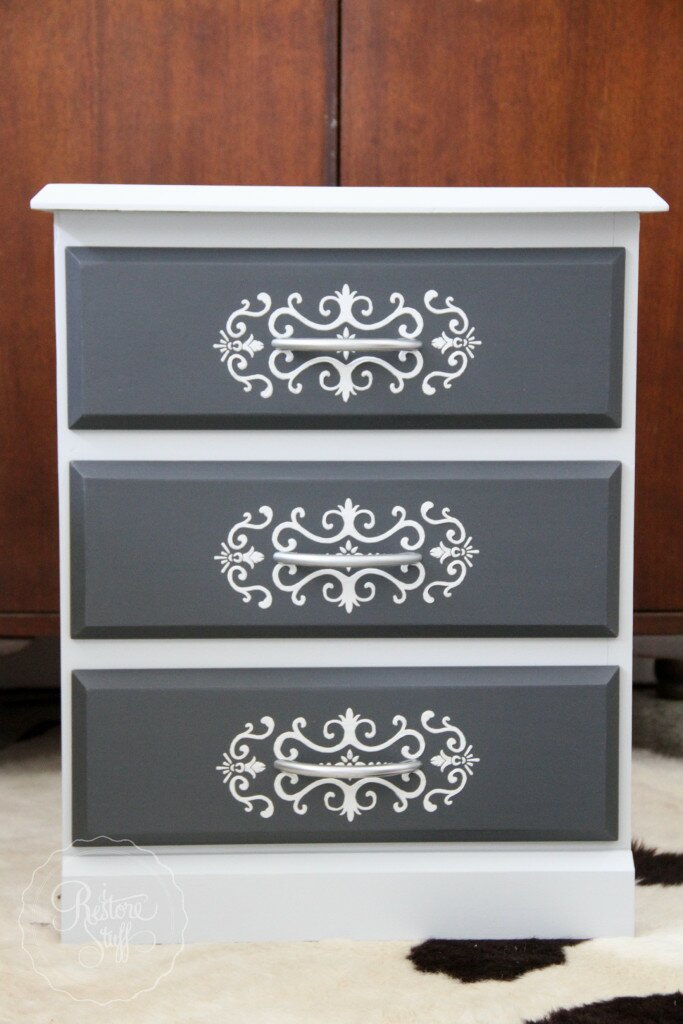
Embossed Stencil on Drawers – this raised, 3D stencil technique is quite the stunner!

Coffee Roasters stencil on a T-shirt in Gold metallic paint!

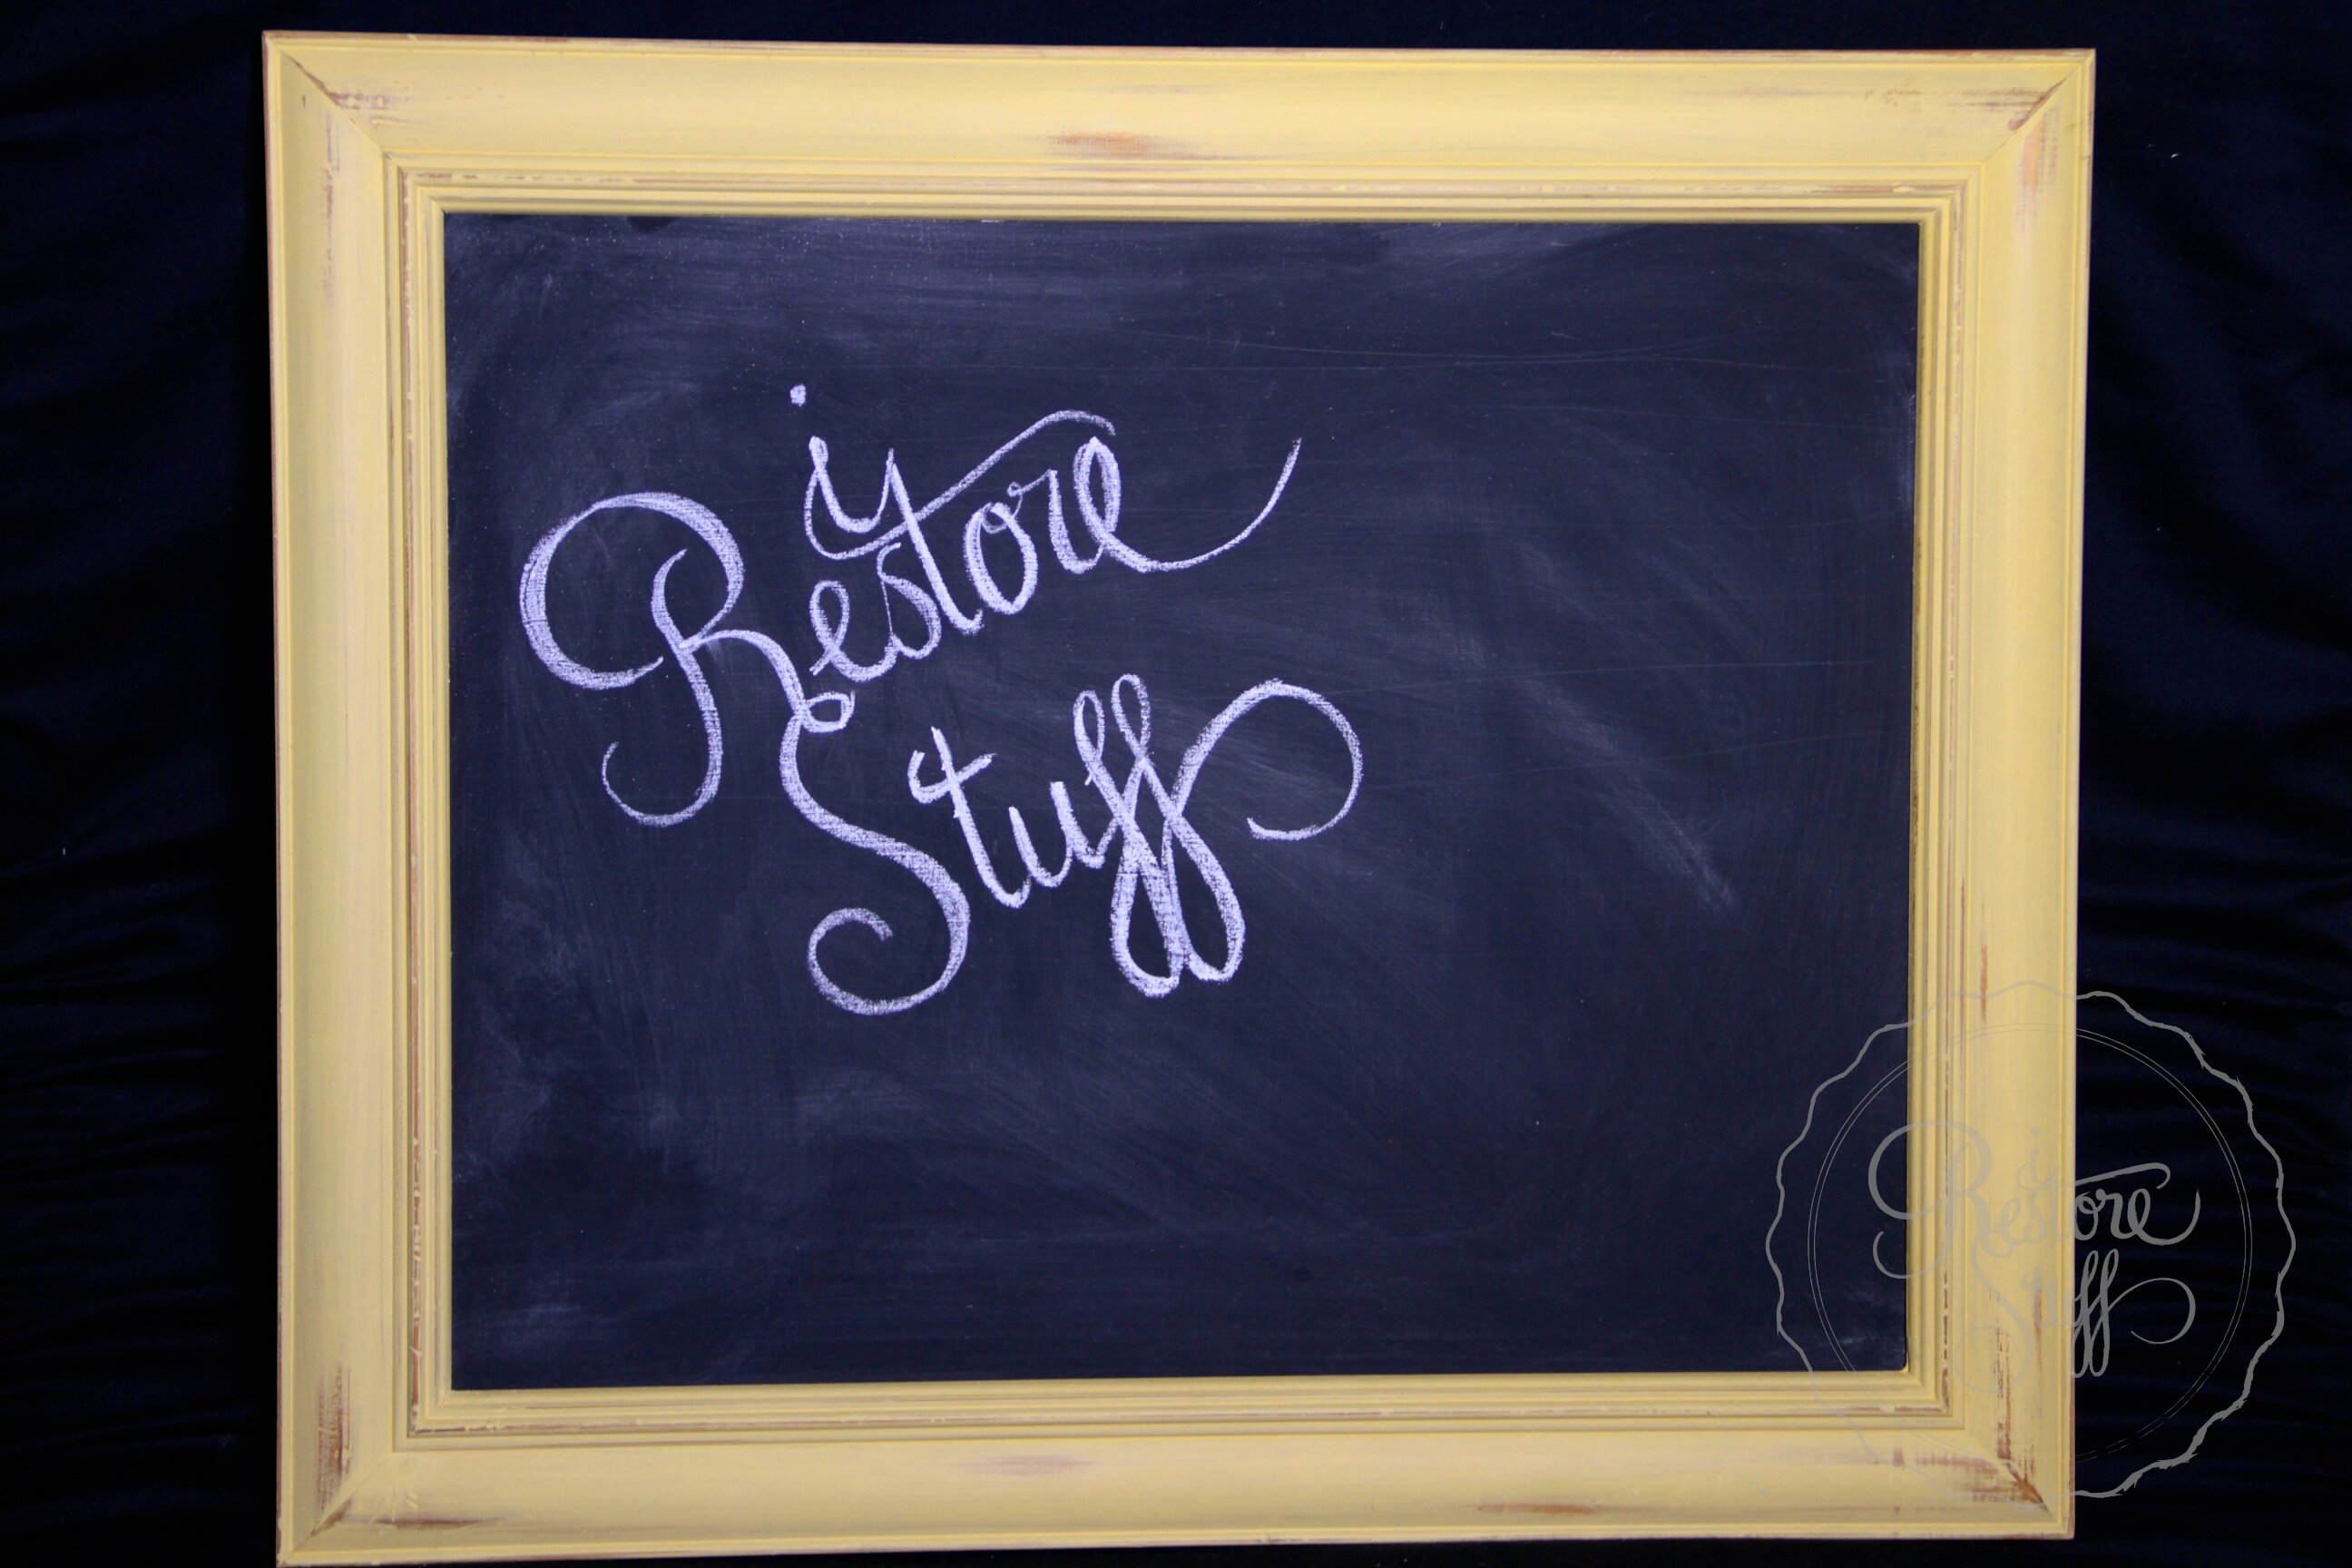
Antique Sign – which I’ll be showing you right here on this post using a Beach themed stencil.
Stencilling Techniques
As easy as it sounds to just whip out your paint brush and start colouring in the spaces in the stencil, if you’ve tried stencilling, you’ll soon discover that there are a few tricks to this method of transferring images or words onto a sign or piece of furniture.
First things first
Before you start, let’s go over some basic preparation…
You’ll need to have:
- either a stencil brush or a brush with a fairly flat surface at the end. (If you don’t have one, I can show you a trick that I’ve used when I didn’t have one on hand.)
- a surface to stencil on – a sign board, piece of furniture, etc. that is ready to stencil. Make sure you don’t seal or wax your piece until AFTER you have stencilled for best results.
- your stencil – there are some great stencils available today and we stock several in our online store (Australia wide shipping).
- paint – I like to use Fusion Mineral Paint for great coverage and a lovely matte finish. (Available in Aus here)
- a newspaper or brown paper or even an old rag cloth to wipe off your brush before stencilling.
- painter’s tape – tape your stencil into place to prevent movement while stencilling.
Go ahead and line up your stencil now to where you want it to sit on your board or piece of furniture. Us your painters tape to secure it in place. You only need small pieces like this:

Painter’s tape will hold your stencil in place without peeling off any paint when you remove it.
Stippler or Swirler?
Are you a “stippler” or a “swirler”? If you are new to stencilling then you’re probably wondering what on earth I’m talking about!
It’s a matter of preference really and what works for each person may be different, but whether you’re a stippler or a swirler (I’ll explain in a minute), there is one simple essential key to stencilling that will greatly reduce the chance of the paint bleeding under the stencil.
And that key is … HAVING A “DRY” BRUSH. Here’s how:
- Grab your scrap paper (newspaper or brown paper or rag cloth),
- Dip your dry brush tips (yes, just the tips, and make sure your brush isn’t wet to begin with) into your paint and wipe any excess off on the side of your paint container or jar,
- Now off-load any paint left on the tips, onto your paper, brushing back and forth a few times until your brush tips appear to be semi dried off.

Azure – by Fusion Mineral Paint. I dipped my brush into the lid before wiping on the paper.


Wipe off the paint from your brush until almost dry.
Stippling
Stencil brushes tend to be flat surfaced, so that you can easily dab the brush up and down (stippling) without brushing any paint under the stencil edges, causing “bleed” around the edges of your image.
You want a nice crisp edge, so “stippling” is one way to do this.

Swirling
Another method of stencilling that some prefer to use is by swirling your dry brush around the stencilled area. To do this, your brush MUST be dried off using the paper or cloth to remove most of the paint as mentioned above. Here’s a video of Jennylyn from Fusion Mineral Paint, showing her swirling stencilling technique:
Tip:
In the picture below, I’m using a swirling method to stencil, but notice the brush that I’m using has long bristles? I like to have a bit more control over my swirling or stippling, so if you do happen to have a brush with slightly longer bristles, here’s my tip: grab your bristles closer to the tips before you get to the paint section and hold them in a bunch, then gently swirl or stipple and you’ll have much more control.
Results – nice crisp edges on my arrow here. Notice you can still see through the paint onto the background? If you wish to have more of a solid coverage, simply leave your stencil in place, wait till the first coat dries (maybe an hour) and apply a second coat in the same way you stencilled the first coat.


To create more of a rustic look on your lettering, wait until your paint has completely dried, and using a fine grit sandpaper, gently distress the painted stencil to reveal more of your back board or rustic wood. I haven’t done so on this stencil yet, as I plan to do more to this particular sign on my next Demo this week.
Here’s a link to my of this project.
What have you done with stencils?
What problems have you had, if any, and how did you solve them? Are you a “stippler” or a “swirler”??
I’d love to hear from you in the comments below.
Remember for more stencilling projects, click on any of the images in the beginning of this post to take you to those individual projects.
If you’re in Australia, check out our full range of stencils available HERE.

Just a few of the stencils we have available in our online store.
For my USA, Canadian friends, I recommend finding great stencils via fusionmineralpaint.com (find your local retailer) or anywhere that stocks Funky Junk Old Sign Stencils.
Have you seen we have a few new colours in stock?? More coming soon, but here’s what we have just added to our store:

Park Bench (Penney & Co collection)
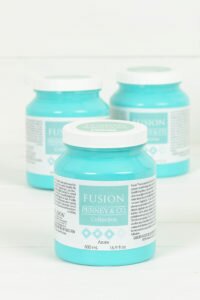
Azure (Penney & Co collection)

Putty (Penney & Co collection)
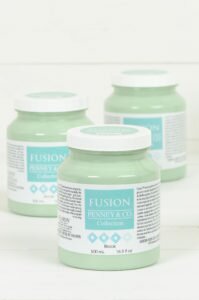
Brook (Penney & Co collection)
We are authorised retailers for Fusion Mineral Paint and Miss Mustard Seed's Milk Paint in Australia. This blog post may contain affiliate links.
10 Comments
Mercia
November 7, 2016 at 10:23 pmI 💗 stencils and I’m both, a stippler and a swirler.
I’ve used them on signs, furniture, trays, caddies, fabric – and now I sound like a stencil addict 😁
Randi
November 8, 2016 at 6:02 amLots of fun projects here today! Thanks for the how-to! 🙂
dee
November 9, 2016 at 9:58 amNot much of a creative person, but this sort of stenciling looks like fun. I have been thinking of redecorating the kids rooms!
IRestoreStuff
November 9, 2016 at 11:45 amIt’s pretty easy Dee! Go for it.
Annalee
November 9, 2016 at 10:09 amWhat a great project! That’s for the tips and tricks about strippling! I might give this a go x
IRestoreStuff
November 9, 2016 at 11:46 amGood on you Annalee. thanks for dropping by!
My gosh I am so happy I found your page! I think I’m in love! I’ve always had problems stenciling and this just showed me what I was doing wrong, so thank you! I’m excited now to give it another shot…. now the question is, what to stencil!!
IRestoreStuff
November 9, 2016 at 11:45 amThanks Champagne & Gumboots! Glad to be of assistance to you. 😉
Jill
November 12, 2016 at 3:05 amGreat project ideas! And great tips for how to do it too…thanks for the post!
IRestoreStuff
November 12, 2016 at 8:22 amThanks Jill!